Sanctuary: Corroded Decontamination Facility — Dungeon GuideAION 2 Guide
Guide for the Sanctuary: Corroded Decontamination dungeon — three bosses with diverse mechanics: orbs, color phases, positioning assignments, and a final fragment collection phase.
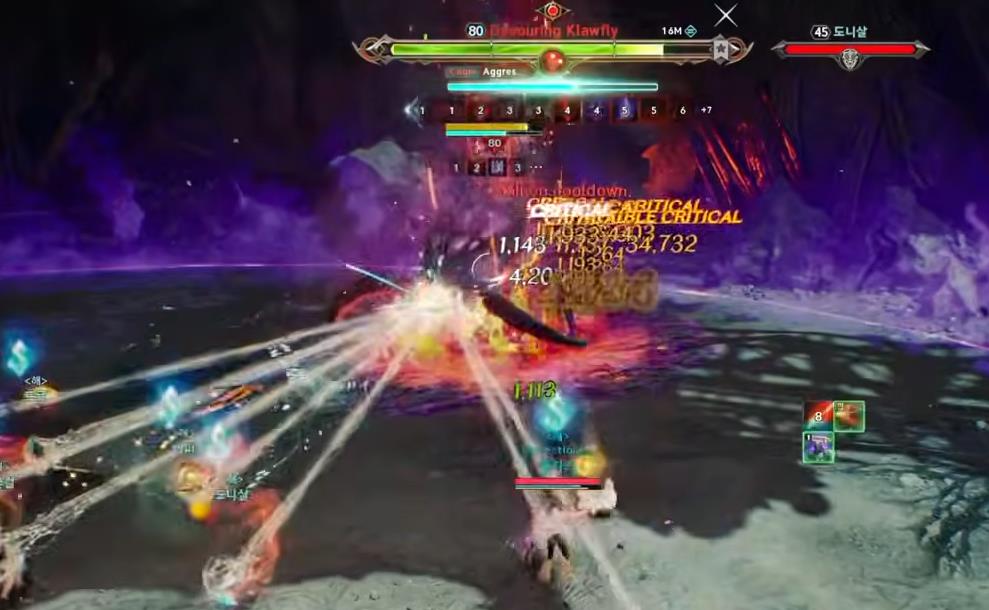
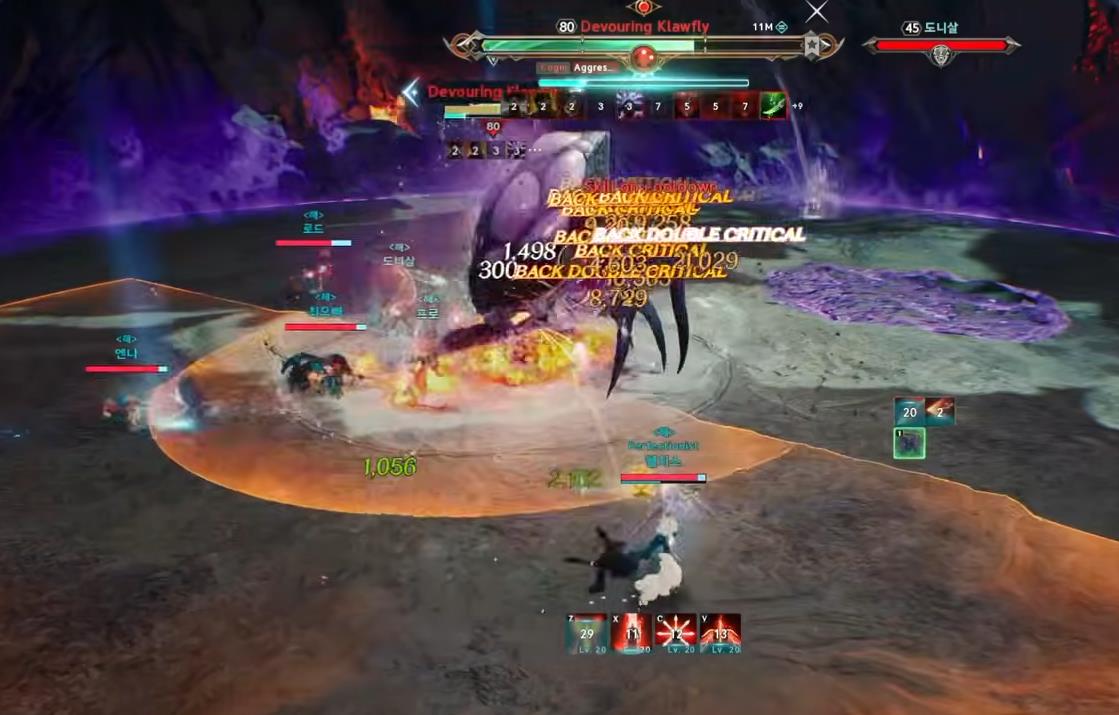
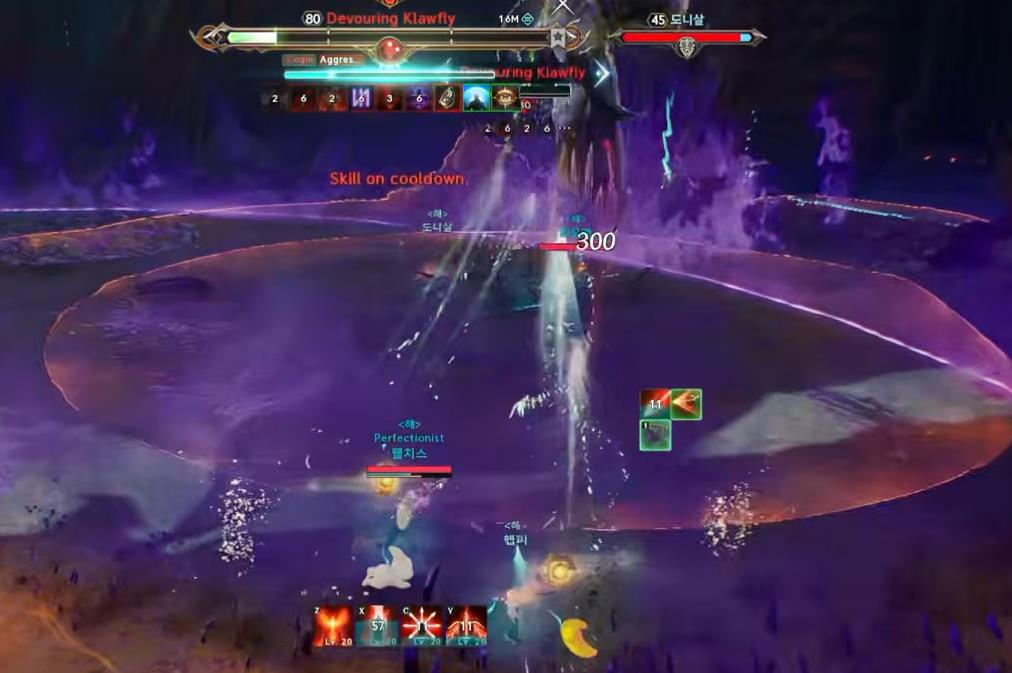
Boss 1 — Devouring Klawfly
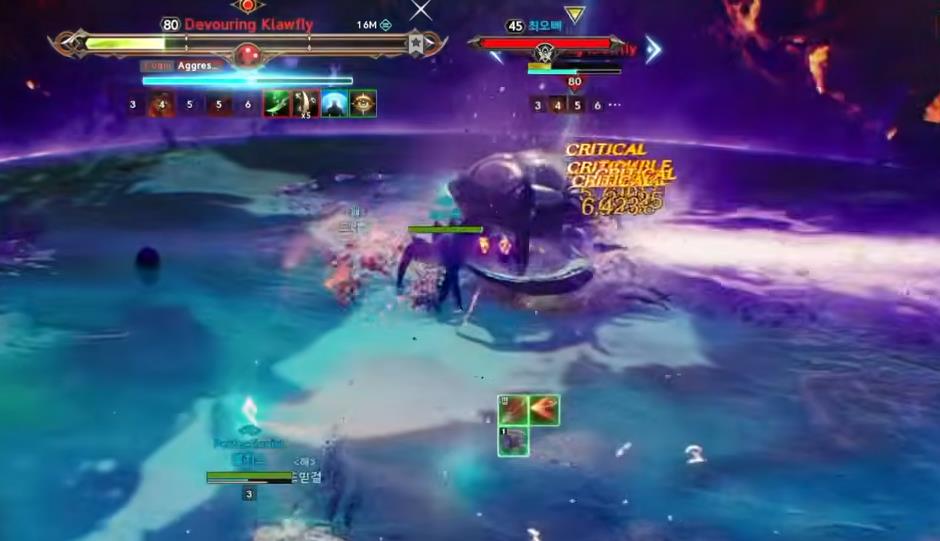
An insectoid boss with mechanics involving orbs, marks, and poison. Requires constant positioning control and poison cleansing.
📍Positioning
- Ranged players must constantly monitor their position and move away from the boss in time
- At certain moments, you need to be closer to the stones
- If someone takes lethal damage — priority: safe resurrection, not continuing the attack
- Always keep a large supply of yellow debuff cleansing potions (Healing Potion) and your healers must have a build for removing debuffs and should monitor the team for poison.
🔮Orbs
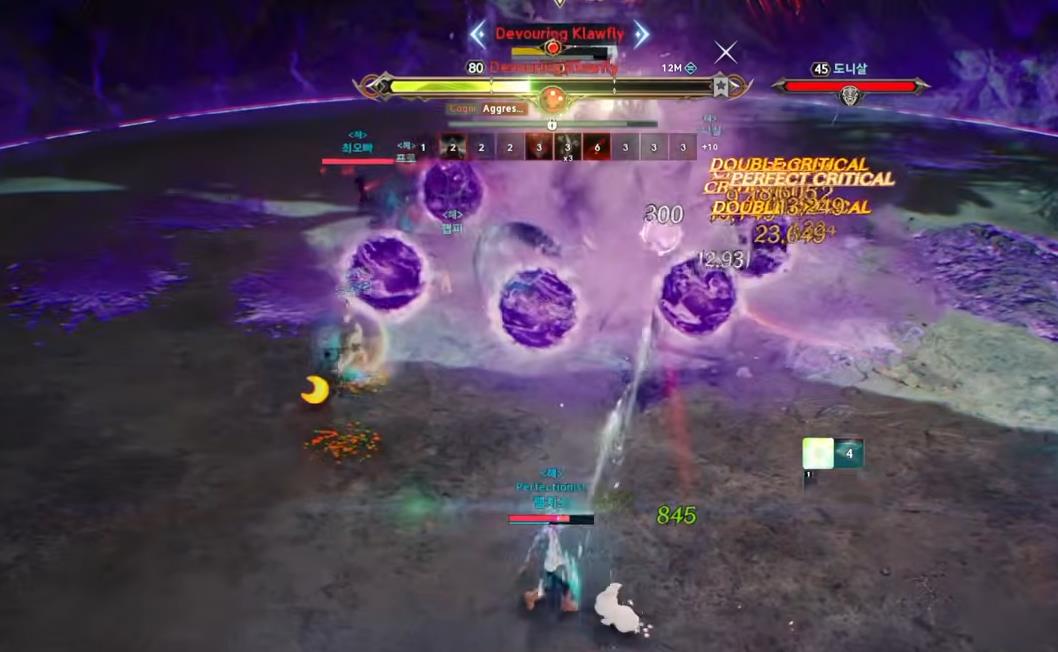
The boss's most crucial mechanic — collecting orbs
- Pick up ("eat") orbs only when they are PURPLE
- It is recommended to determine the order in advance so that without commands, each person takes an orb in their turn.
🎯Pull (Web)
- The boss JUMPS BACK and starts pulling towards a poisonous field - under no circumstances stand near the boss - this is instant death
- As soon as the boss jumps to the edge of the field, immediately run away from him, while he is pulling, run or dash in the opposite direction.
🕸️Web and Poison
- The boss shoots webs that lie on the field, try not to step into them, or quickly remove the movement speed debuff, otherwise you won't be able to move properly
- Poison - almost all of the boss's attacks, as well as explosions, apply poison, which at 3 stacks deals massive damage, always cleanse it with a yellow Healing Potion and ask your support to remove it.
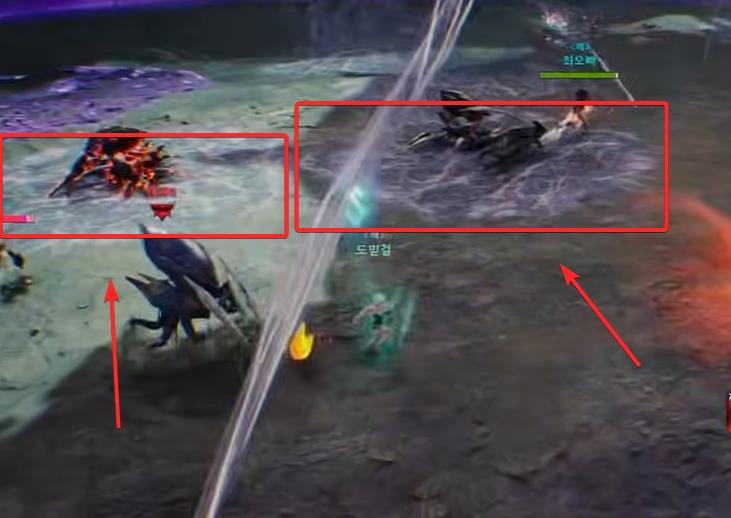
- The boss summons 6 stones and marks 4 players with numbers from 1 to 4 - this is the order in which he jumps on players and breaks the stones he summoned (the jump deals AoE damage).
Your task is to break 5 out of 6 stones and hide behind the last one from the subsequent powerful attack, which is 100% lethal! - Each UNBROKEN stone leaves behind a poisonous field that deals huge DoT damage until the boss is killed, so it's important to break 5 stones, not fewer.
- The boss performs two powerful AoE attacks one after the other, the first in a semicircle, the second in a circle - they can be blocked, dodged, or you can move out of the damage zone. These attacks also apply poison, so be careful.
- The boss shoots a laser-like beam, but it's a poisonous breath. To avoid it, always stand to the side or behind the boss. He does this after a jump.
- The boss burrows underground and chases one of the players, leaving a poisonous zone that can kill very quickly
- He does this for the first time at around 55% health, BEFORE the orb mechanic.
- Linear Attacks and Pull - watch the floor markers and dodge in time. The boss throws his hook, pulls himself to it, and strikes in a cross pattern.

- Circular Attack with Pull - the boss starts spinning his hook overhead and pulls players towards him. The rings deal damage from the outer circle inward, so it's crucial to block in time or dodge with a dash!
- Hook - the boss pulls players in front of him. Be prepared for a series of several hooks in a row. This attack applies multiple stacks of bleeding and is extremely dangerous!
- "Eyes" Mechanic (Near/Far) - the boss selects 2 random targets, after which 4 explosions will occur (2 sets of 2) one after another: 2 small circles near the two chosen characters (with eyes above their heads) and immediately after, 2 large circles.
You must either move far enough away to avoid even the large explosion, block the attack, or dodge with a dash. The safe zone will be the small circle after the first 2 explosions.
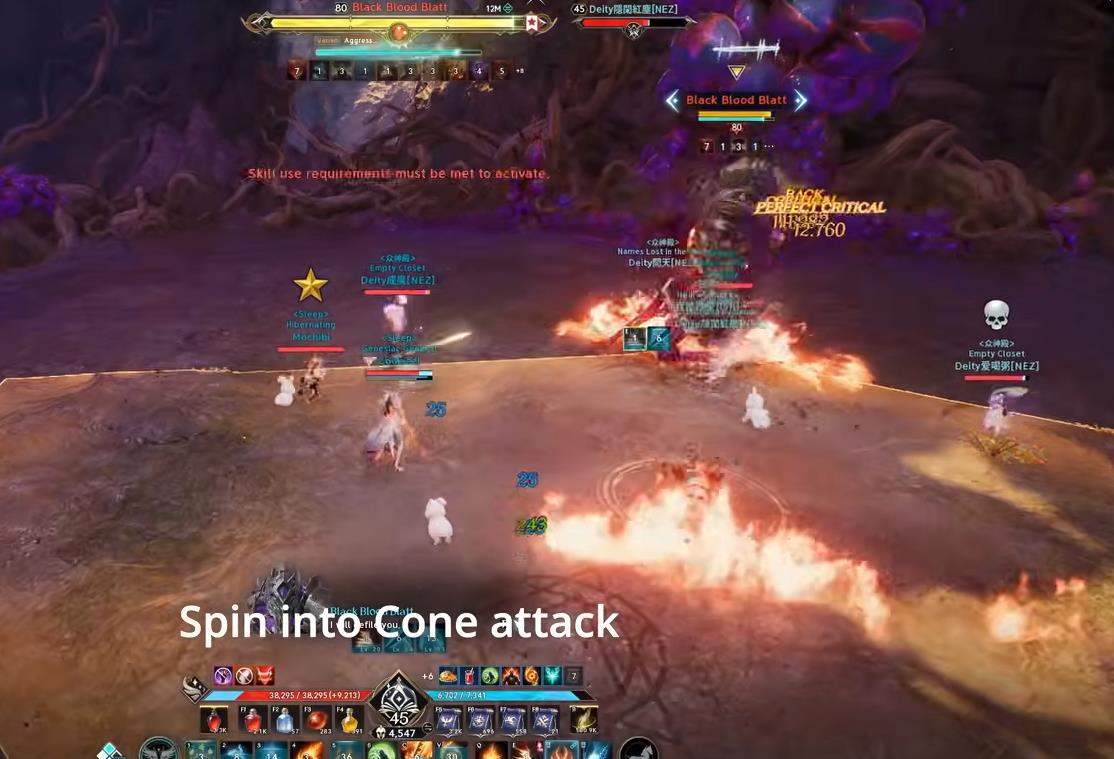
- Charge - the boss shows an area around himself, then starts spinning and running.
Your task is to get out of the path! After the charge comes a cone attack, so don't stand in front of the boss.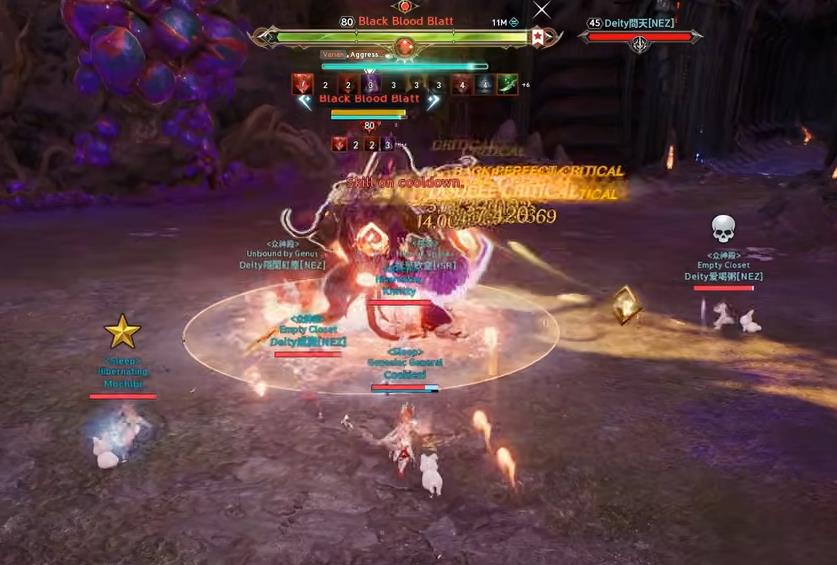
- Diverging Lines - shows 1 vertical (or horizontal) strike, from which 2 more attacks then diverge, totaling 5.
You can dodge with a dash or by being outside the attack range.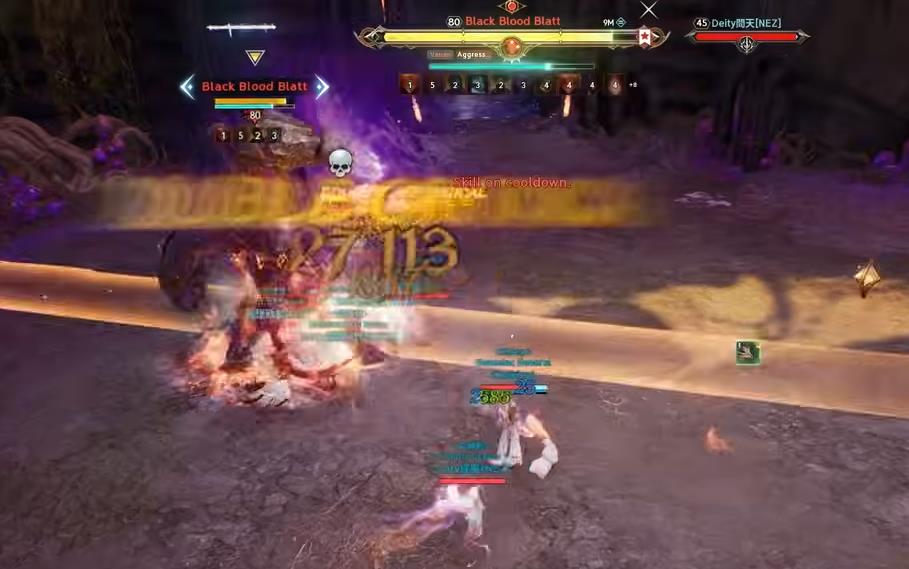
- Read the message on the screen, where the boss will name the color sequence (purple -> red or red -> purple). Which color you need to take can also be determined by the color glowing on the Boss's blade.
- Dodge TWICE from the boss's shot (with a dash) and do not let this shot hit the puddle with tentacles, from which you will take the needed color that protects you from the AoE damage. target the correct color according to the instruction.
- Tentacles - Activated and NON-activated puddles with tentacles will appear on the field. If you approach activated ones, you will get rooted and take DoT damage.
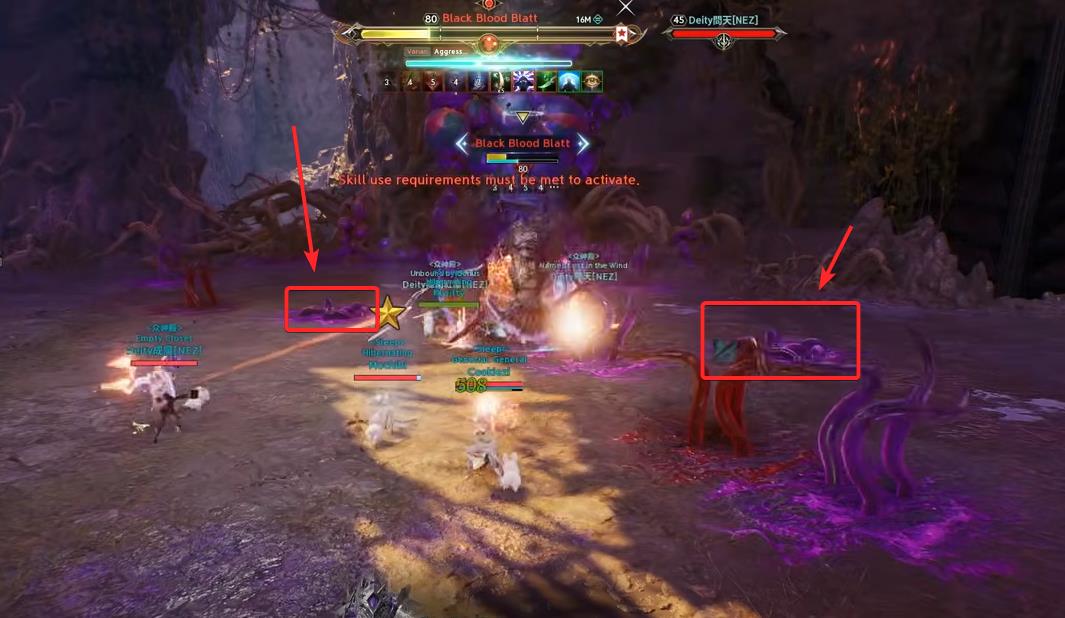 Your task is to activate the inactive puddles, which are shown in the screenshot above (so they disappear), and not approach the already activated ones. But if you do get caught in the tentacles' grasp, your team can free you by dealing damage to them.
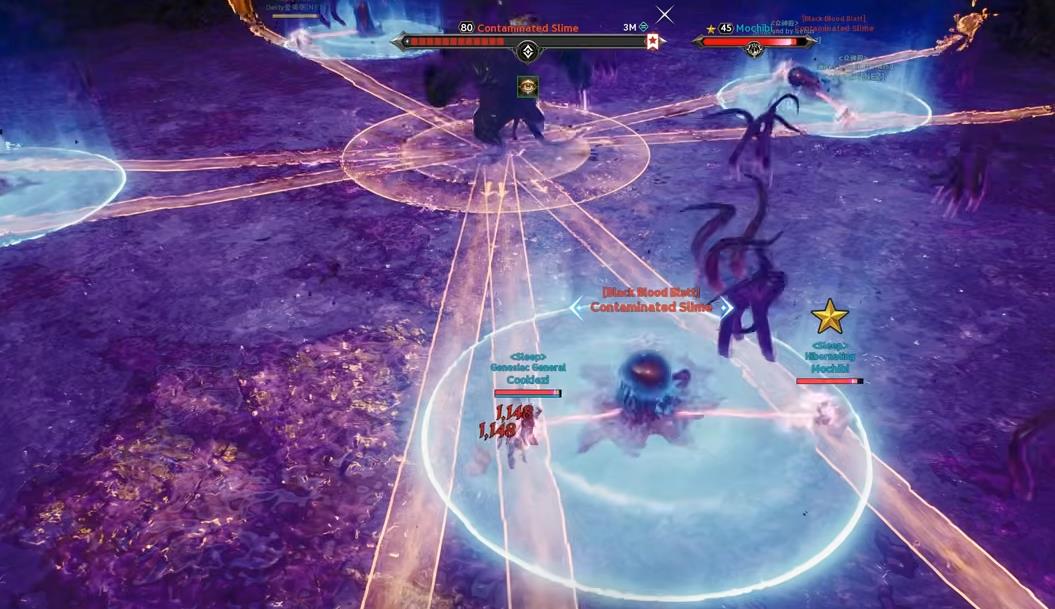
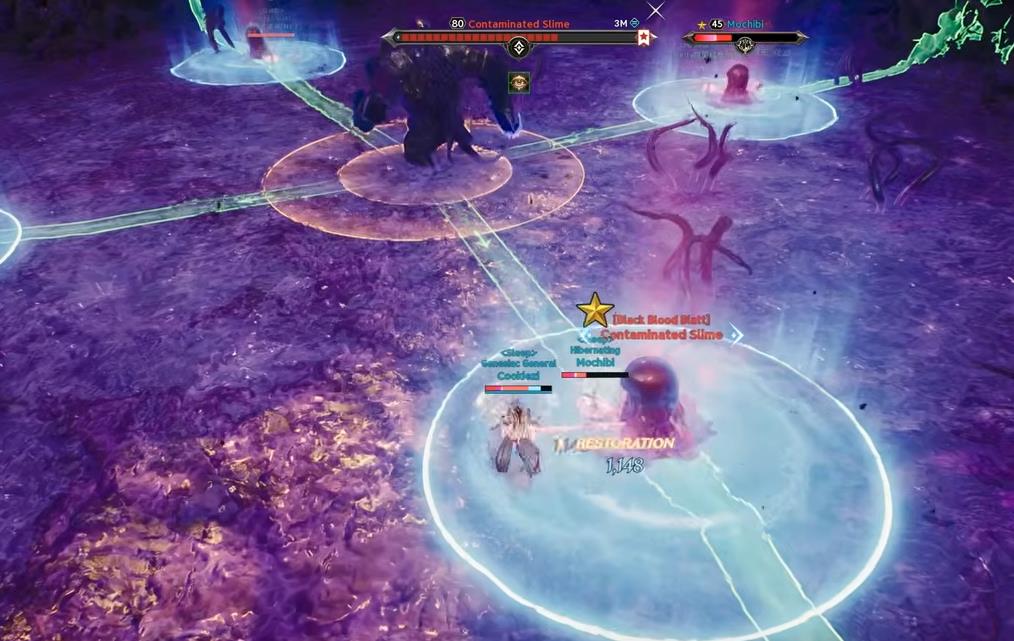
- Take your positions near the slimes, 2 players per slime.
- Either kill the slimes immediately - to avoid them exploding or keep their health around 20-40%! Do not let the boss's spit hit a slime (this will kill or heal it) and only finish them off quickly when the global red field appears - the precursor to the wipe AoE - as the boss begins casting "Fierce Toxic Aura Wave".
- The boss will also shoot healing (a green bar will warn you about this) which you must collect yourselves, as you will take constant damage near the slimes, and if slime gets fully healed it will EXPLODE and deal dmg to everyone.
- Closer to the end of the fight, the boss summons large tentacles on the sides, which periodically strike with direct attacks that knock down and deal heavy damage.
- Also, 3 circles appear:
- 2 Medium circles with arrows pointing outward - explodes with 2 diverging circles.
You must jump over them - 1 Small circle with arrows pointing inward.
Requires damage splitting - Triple Strike - The boss strikes 3 times with a powerful AoE, in the form of expanding circles.
Can be dodged with a dash, a block, or by staying outside the attack range.
- Acid Rain - The boss jumps to the center of the platform, and a red damage circle spreads from the jump (must be jumped over). After that, a purple rain will start falling on EVERY character, which not only deals damage but also leaves a poisonous puddle.
After jumping over the expanding circle, EVERYONE gathers together at the edge of the platform and runs along it so the poison doesn't interfere with further mechanics.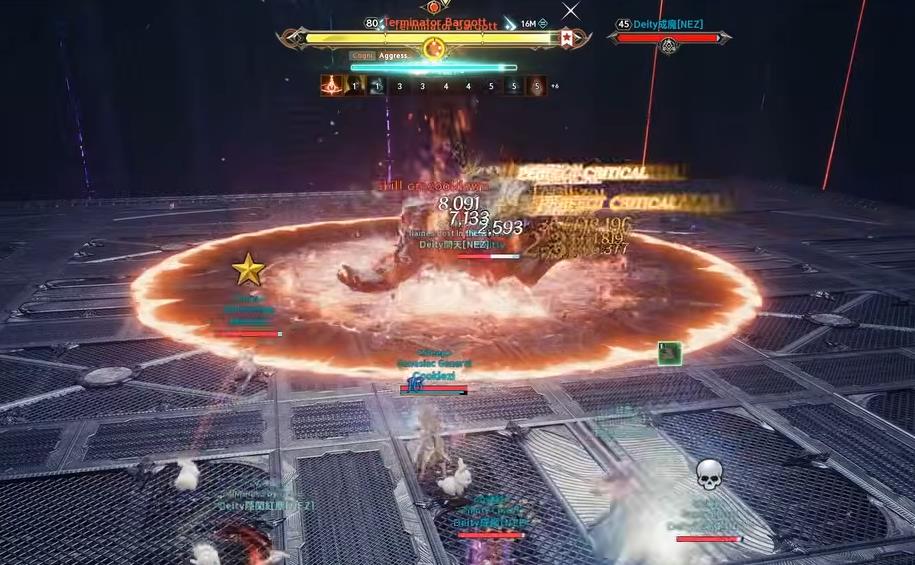
-
Split the Damage - The boss summons 3 red fields with arrows pointing inward, one after another. Your task is to split the damage on each one, in the order they appear.
-
2+1 Roll - The boss rolls twice quite quickly, and then after a short delay, performs a 3rd roll.
Try to get out of the way all 3 times!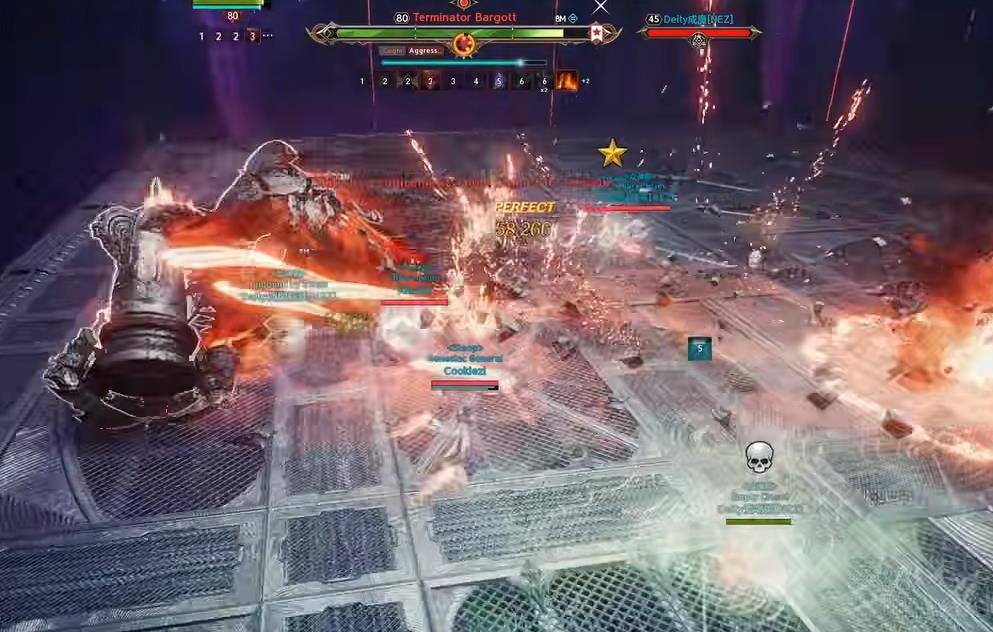
-
2 Orbs - The boss shoots 2 orbs with a black hole effect; they pull players in and deal heavy damage.
Try to get out of the way!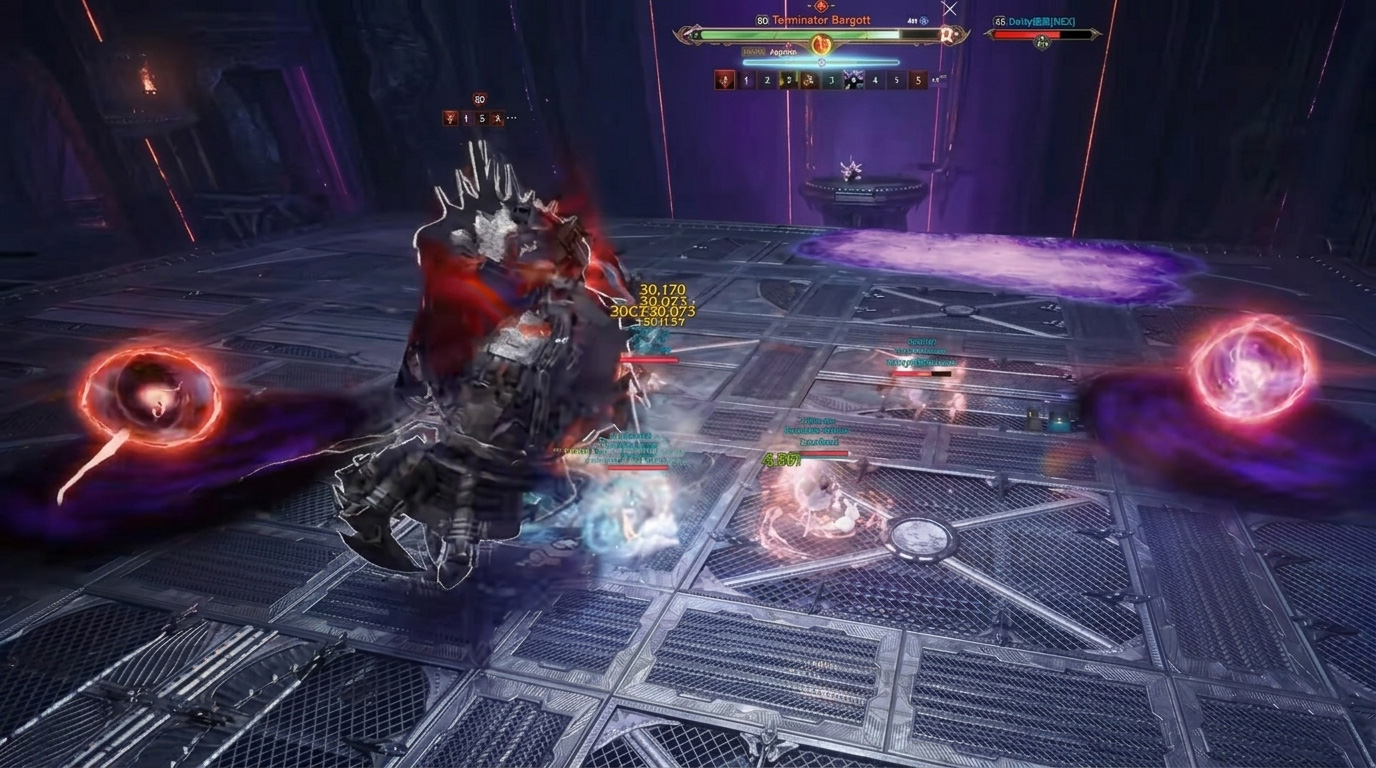
Stones

2 Consecutive AoE Attacks
Beam
Burrowing and POISON
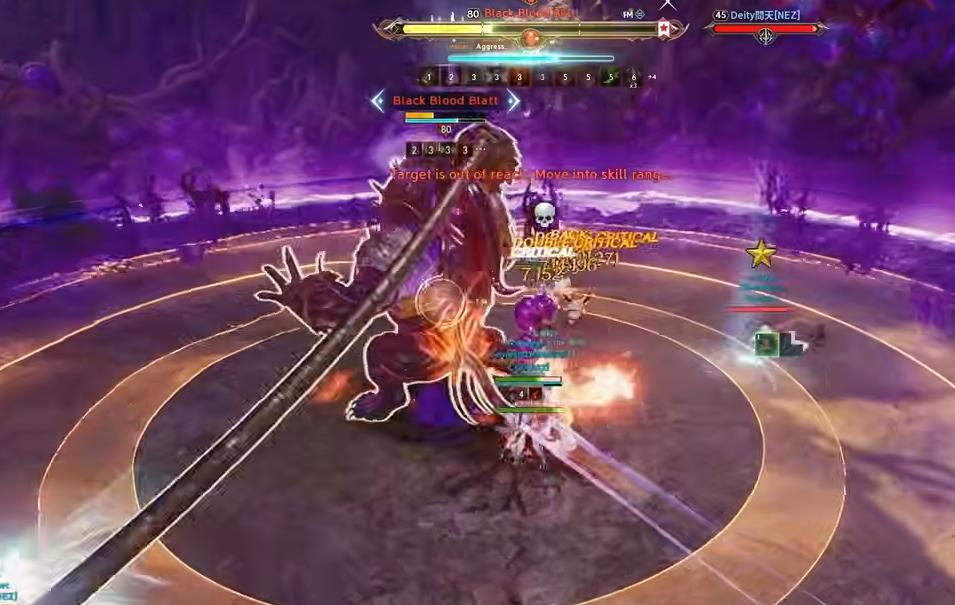
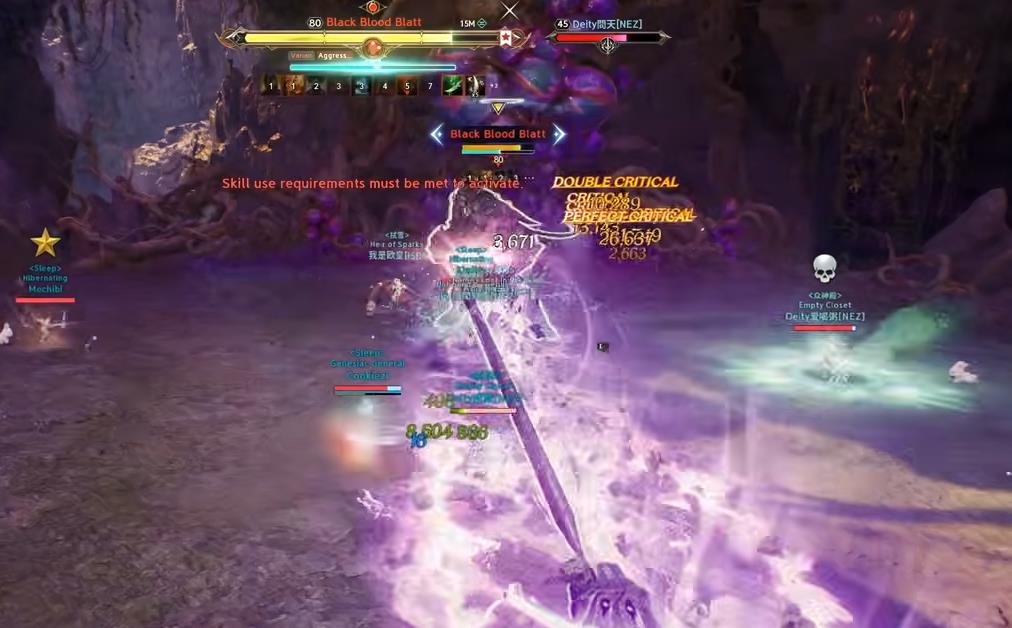
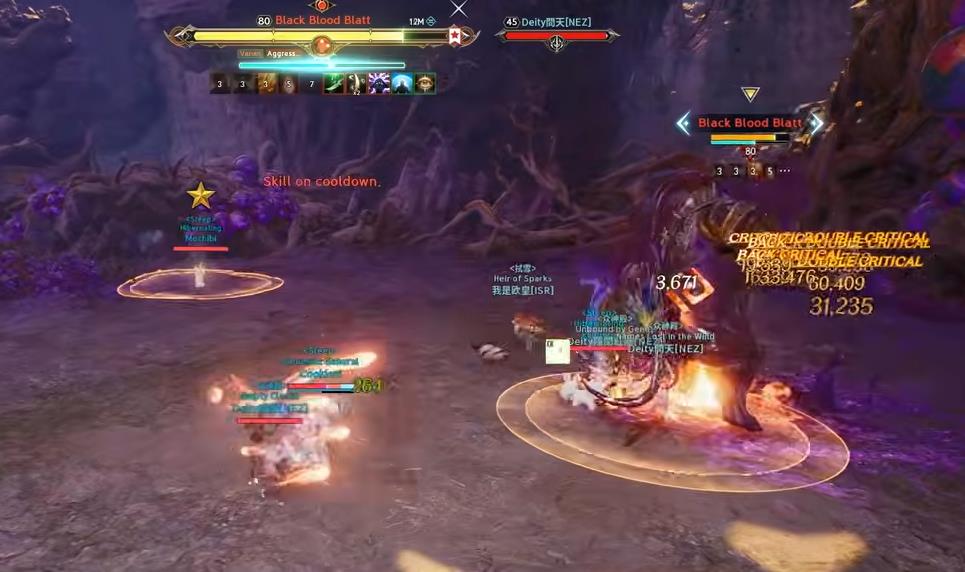
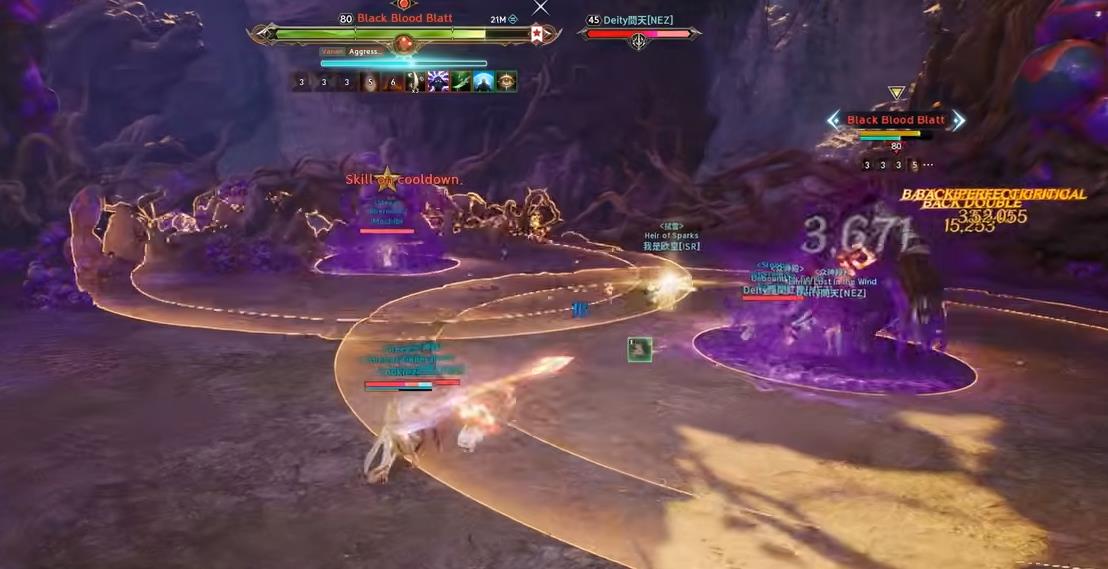
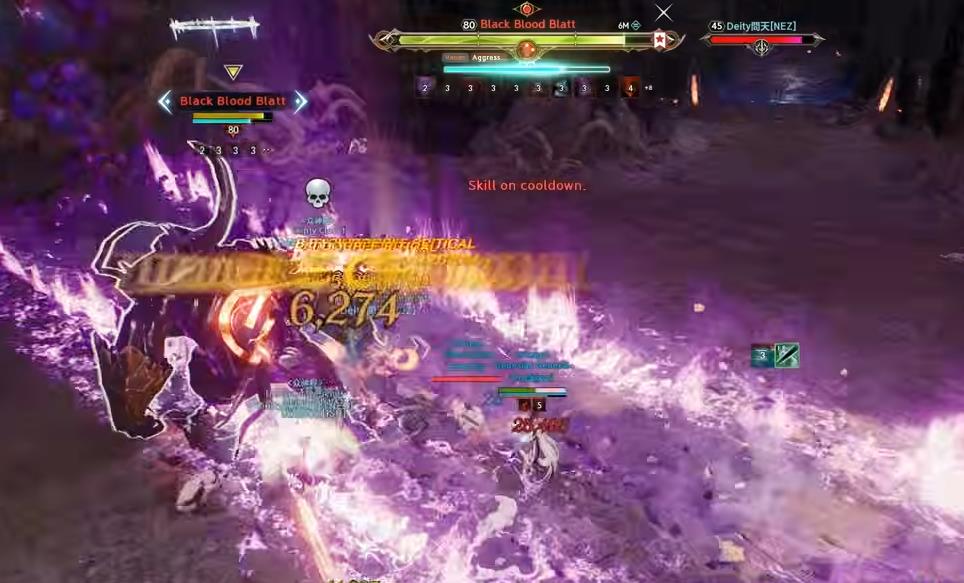
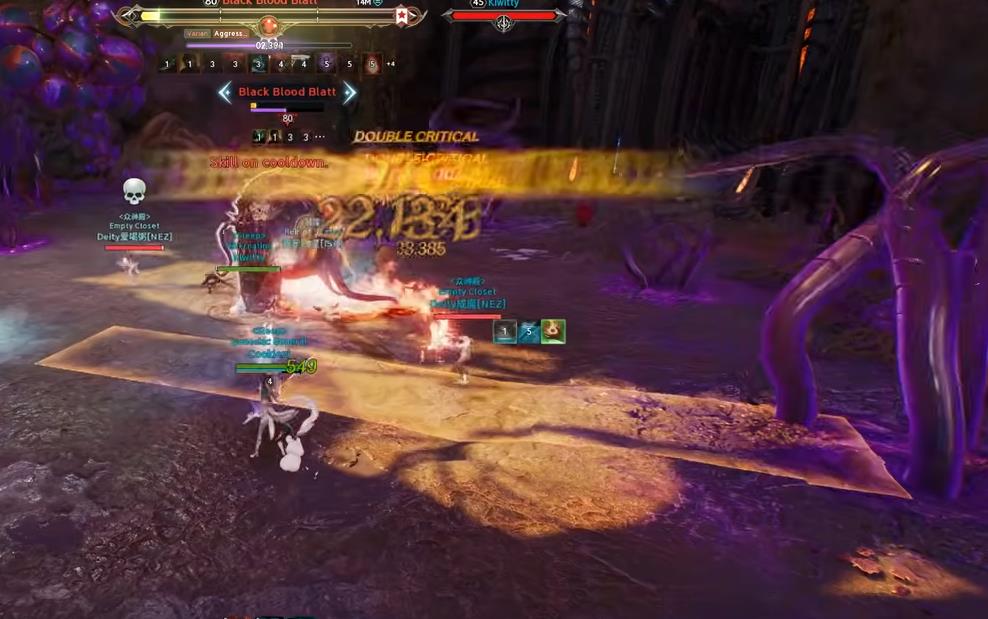
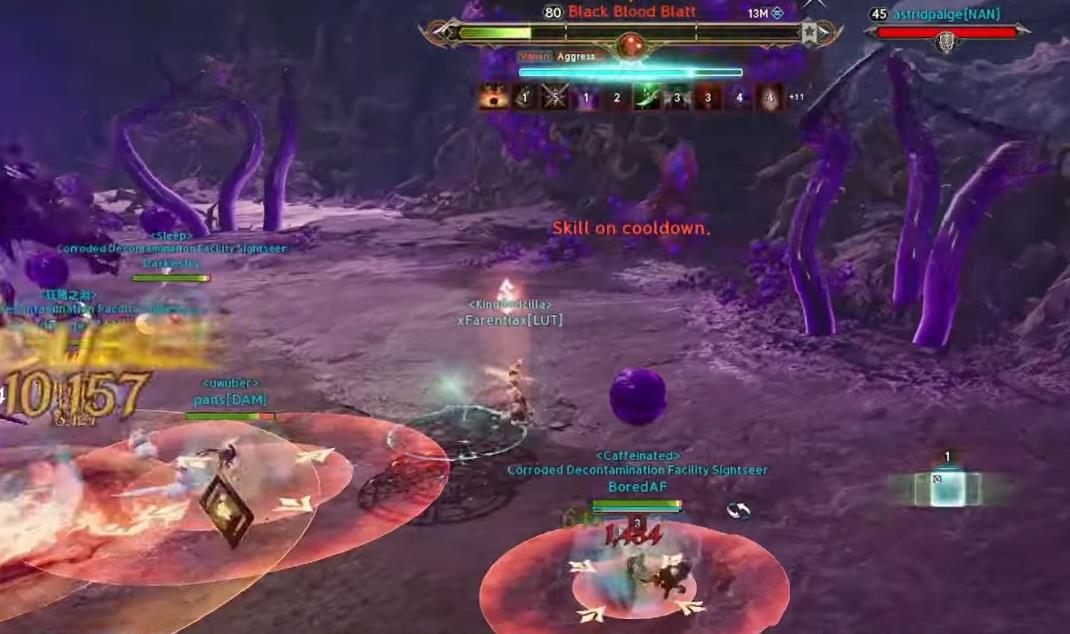
Boss 2 — Black Blood Blatt
A boss with line and cone attacks, hooks, a strong bleeding DoT, a color phase, and a slime mechanic. Ends with a mass attack that must be dodged.
⚔️Basic Attacks
🎨Color Phase (Center)
When the boss returns to the center of the arena, the color phase begins. You have exactly 2 tasks:
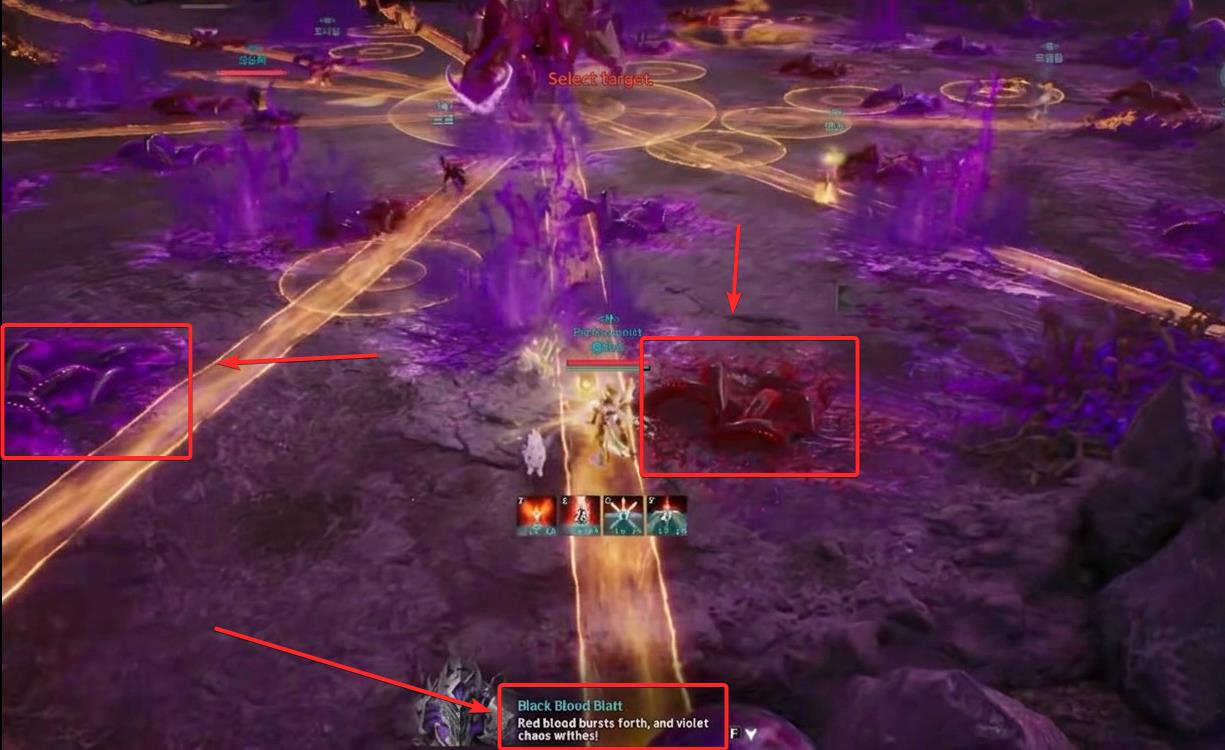
🟢Slime Mechanic
At a certain point, the boss summons 4 slimes.
Large Tentacles and Circles
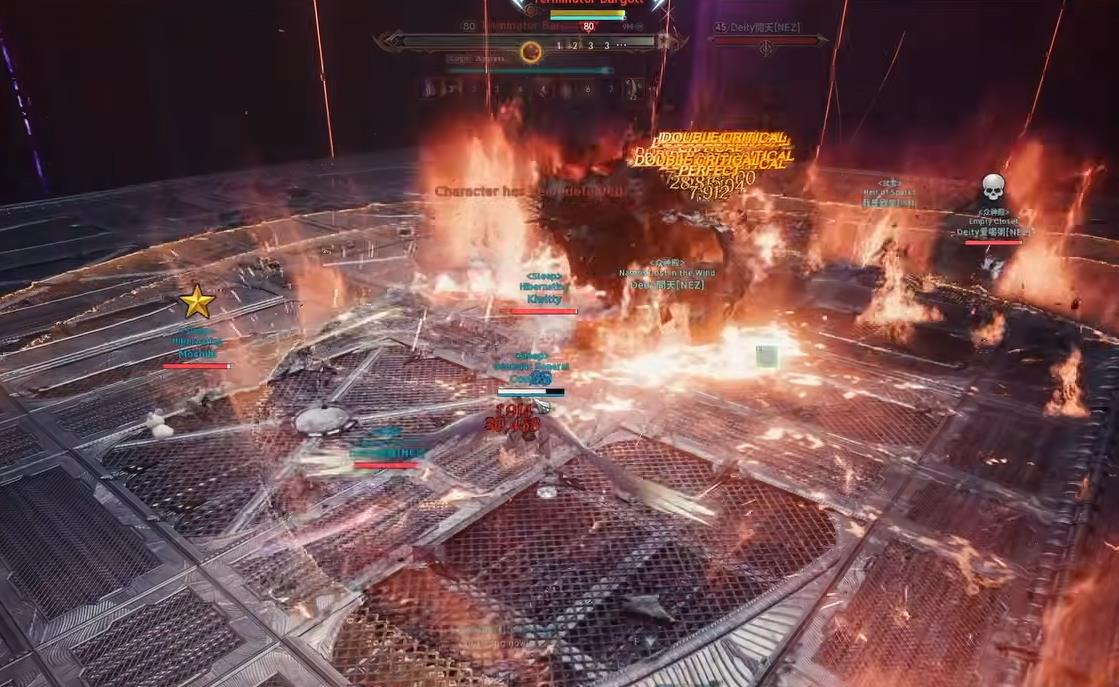
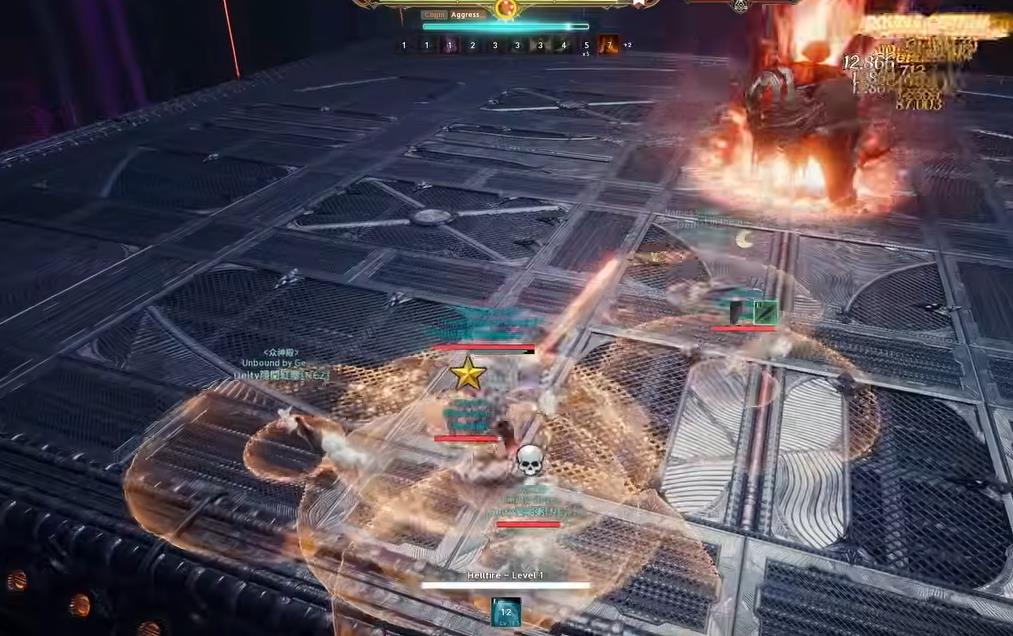
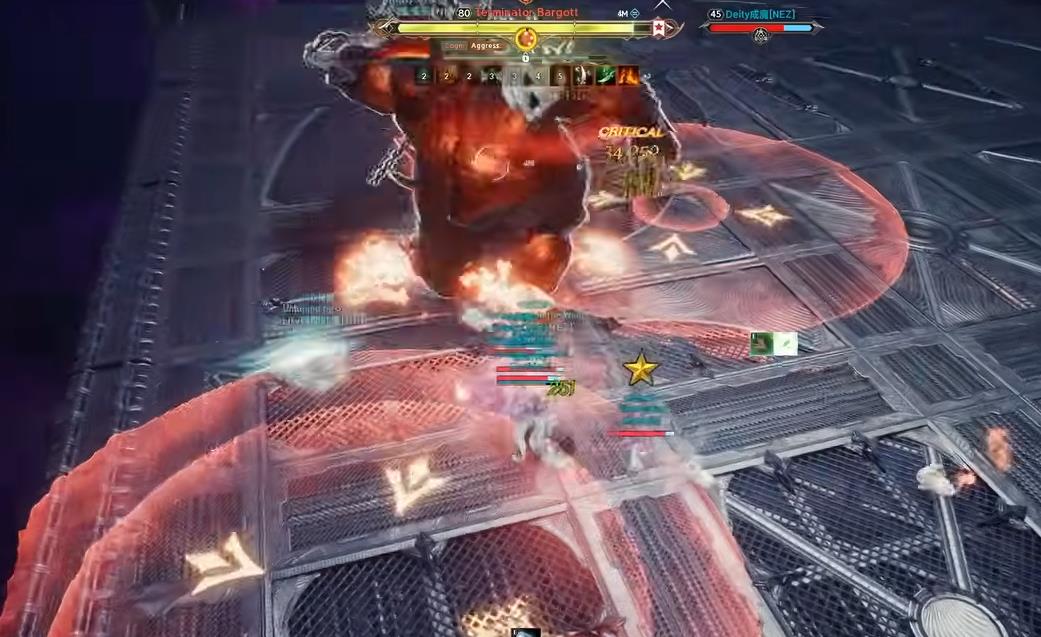
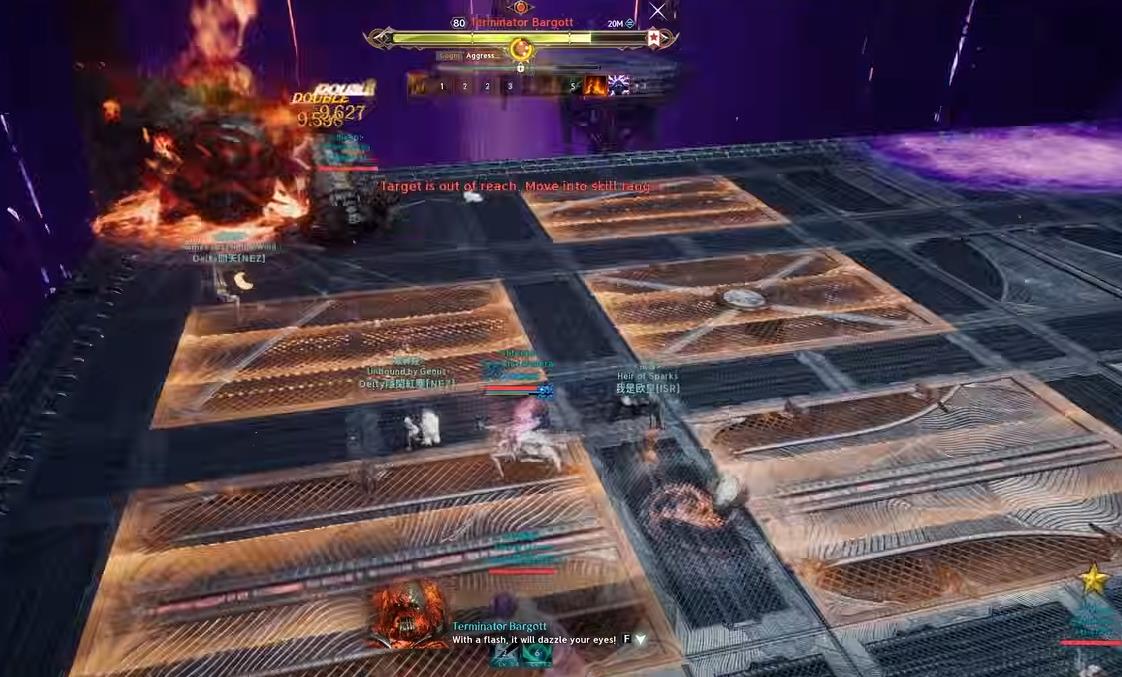
Final Boss — Terminator Bargott
The most difficult opponent with mechanics involving positioning, poison, collecting fragments, and bombs. Requires precise coordination and attention until the very last percent of HP.
Basic Attacks
This boss has extremely powerful abilities that can easily wipe the entire party, so proper dodging or blocking is critical.
💣Bombs
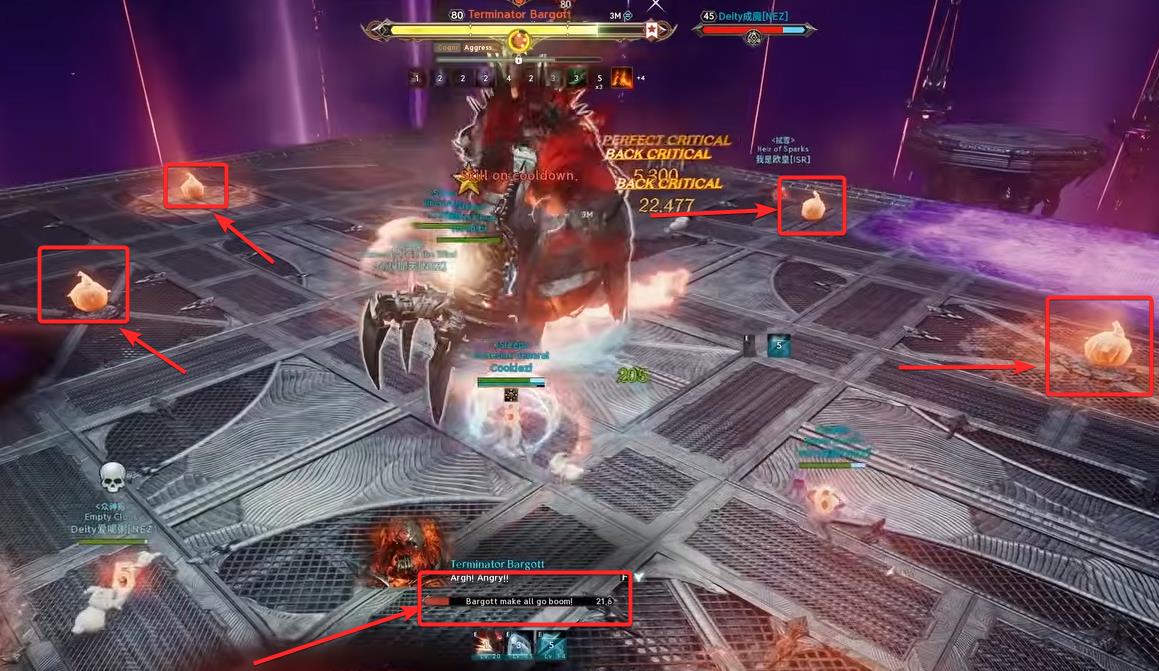
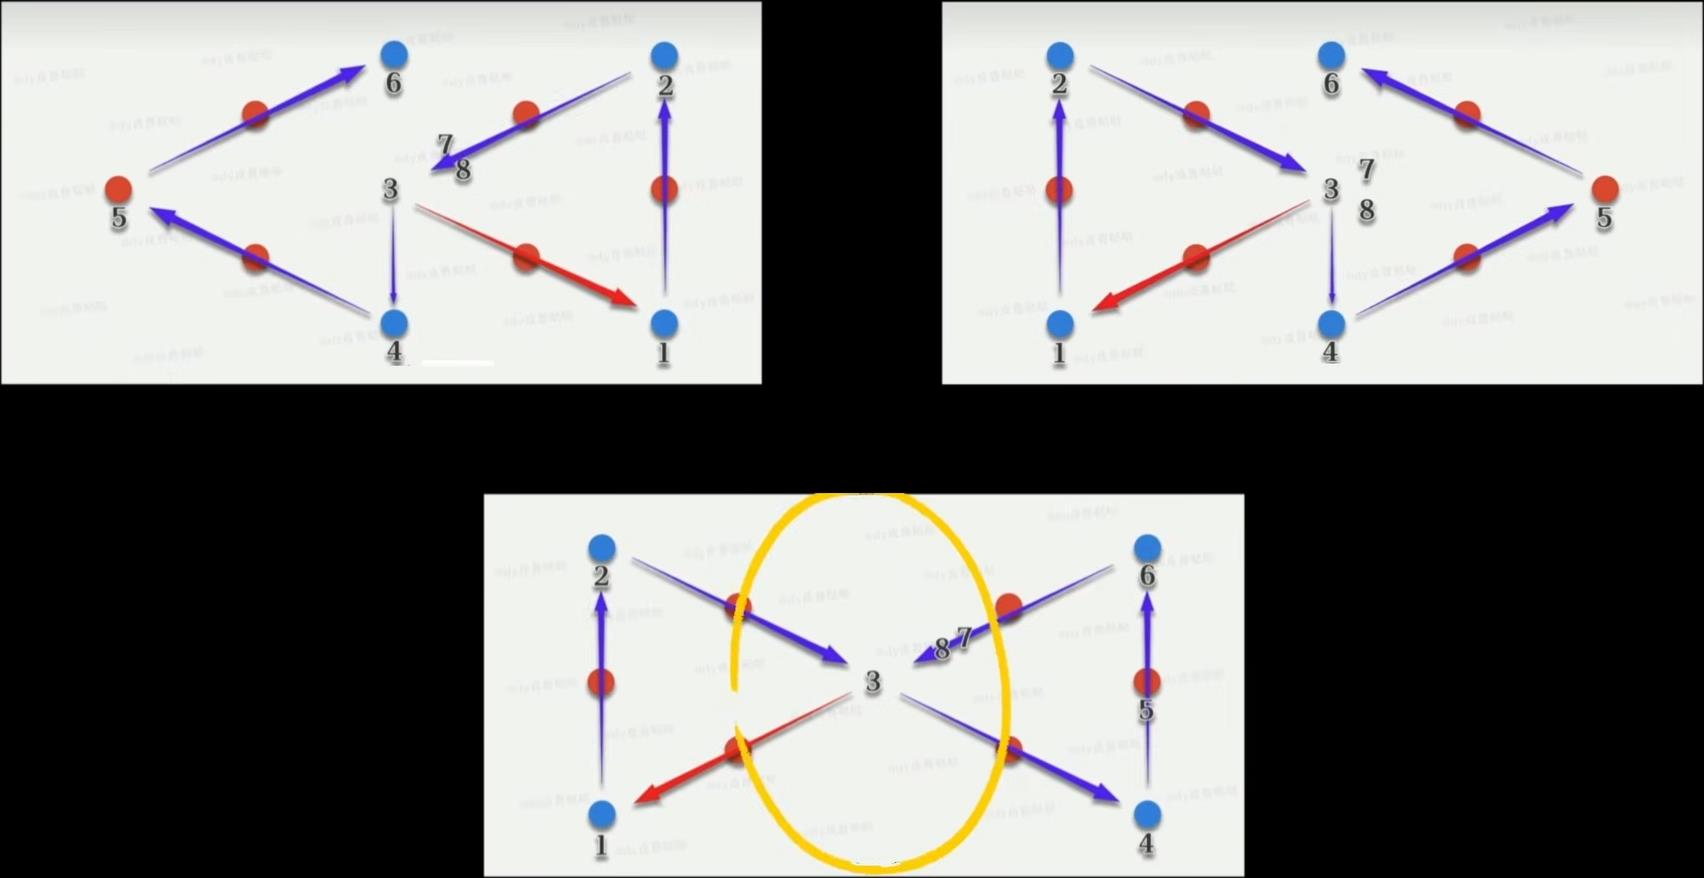
The boss summons 8 bombs arranged in a diamond shape, and also marks all characters from 1 to 8 - this is the order of targets he will roll towards.
Your task is to take positions at the vertices of the diamond so that the boss, while rolling after you, breaks all the bombs.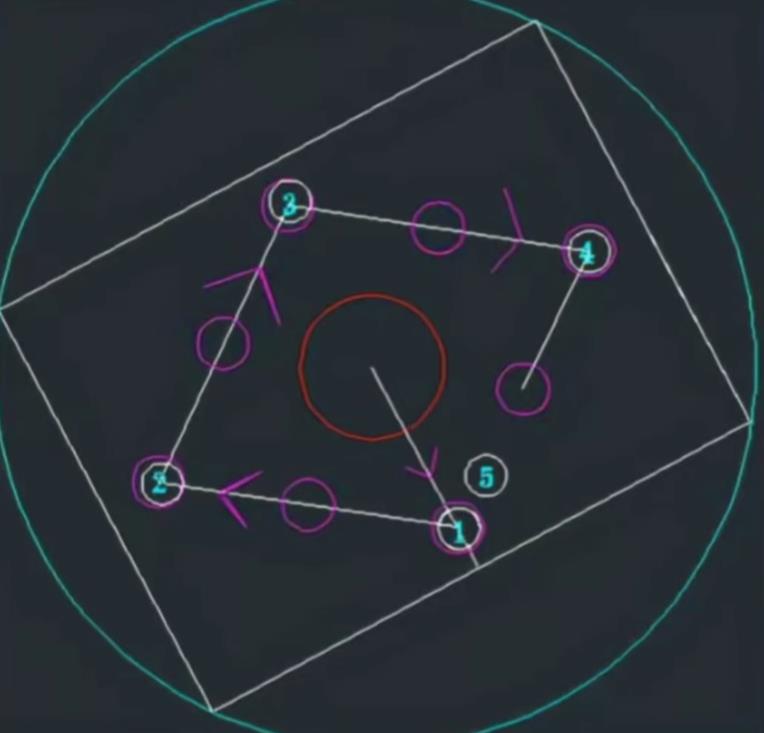
🌟Flashbang Grenade
Periodically, the boss jumps up and leaves a bomb underneath him, which explodes into a black field requiring players to quickly look away.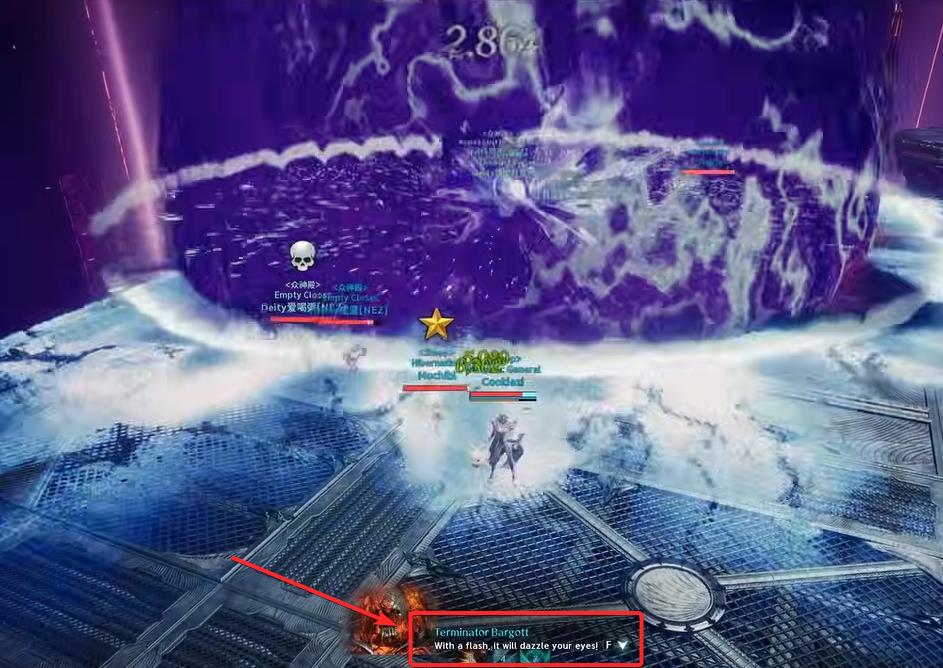 Immediately after the explosion, the boss explodes rectangles across the field, run away immediately.
🌐Multiple Orbs
The boss releases many orbs; you need to dodge all of them.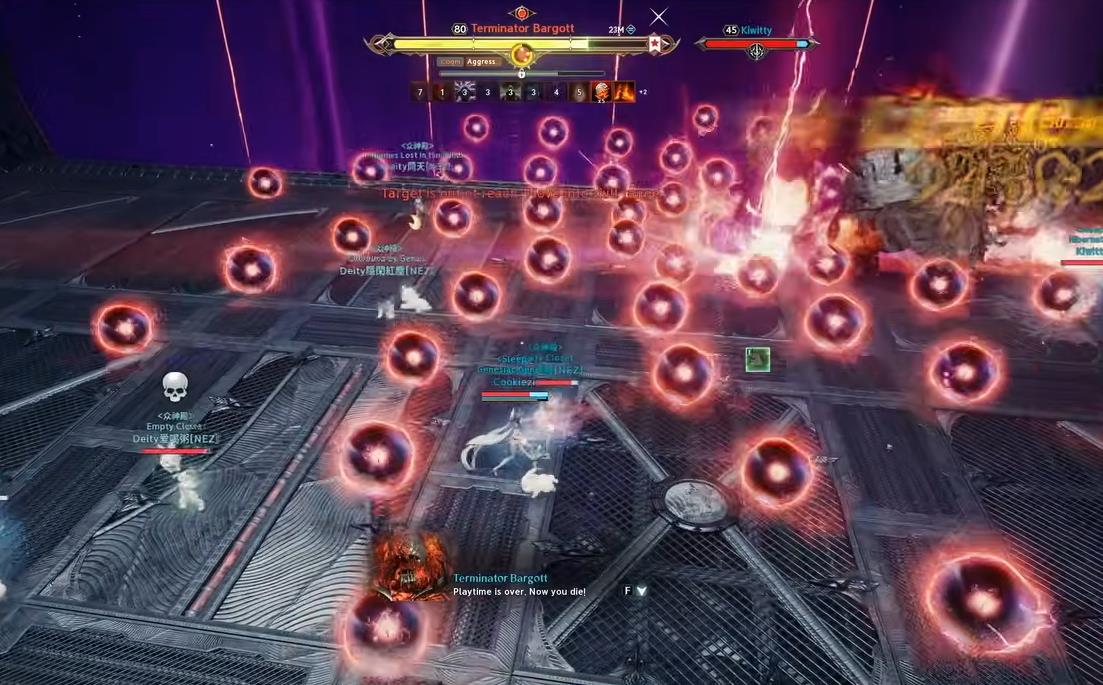
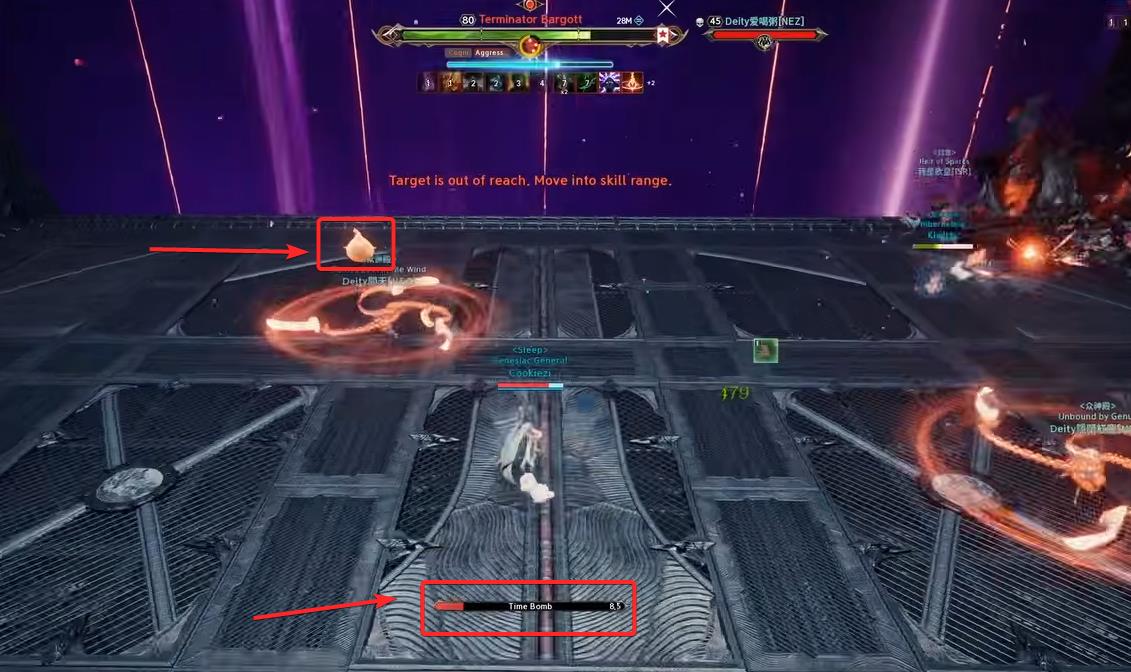
⛓️Spinning Chains
The boss shouts: "Chain throwing time!" and red circles appear under some characters.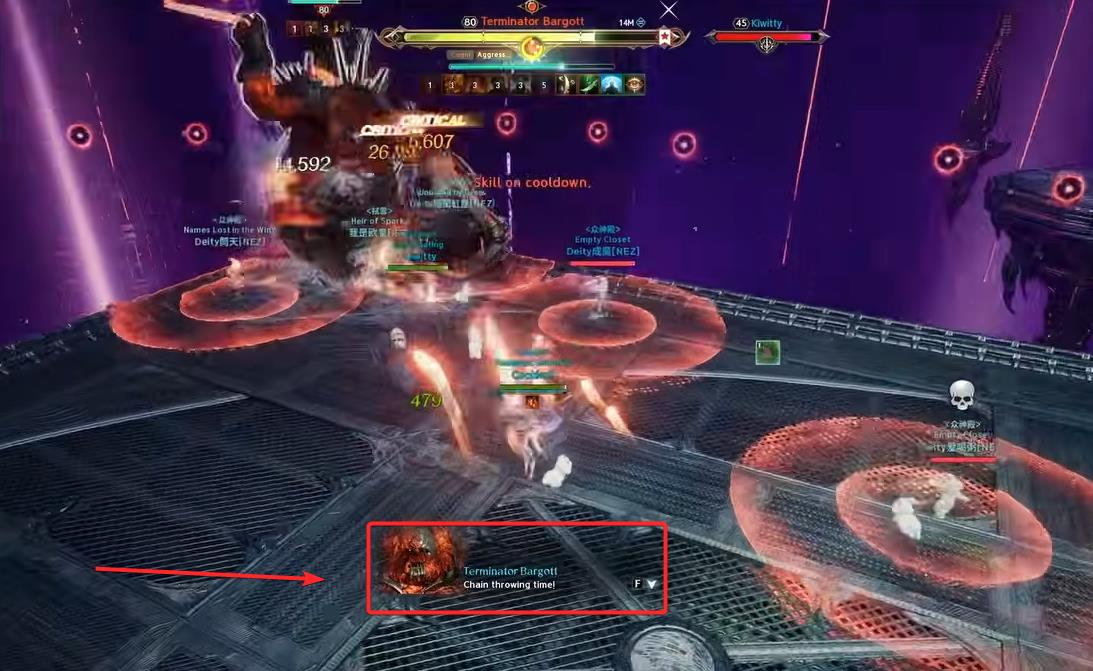 Your task is to break the bombs that appear on the platform, and then you can break the chains by colliding with each other, but be careful and do not approach players WITHOUT chains, as this can knock them off the platform!
⚡Laser
The boss shouts: "With a flash it will dazzle your eyes!" and fires a laser beam in front of him, then spins around his axis.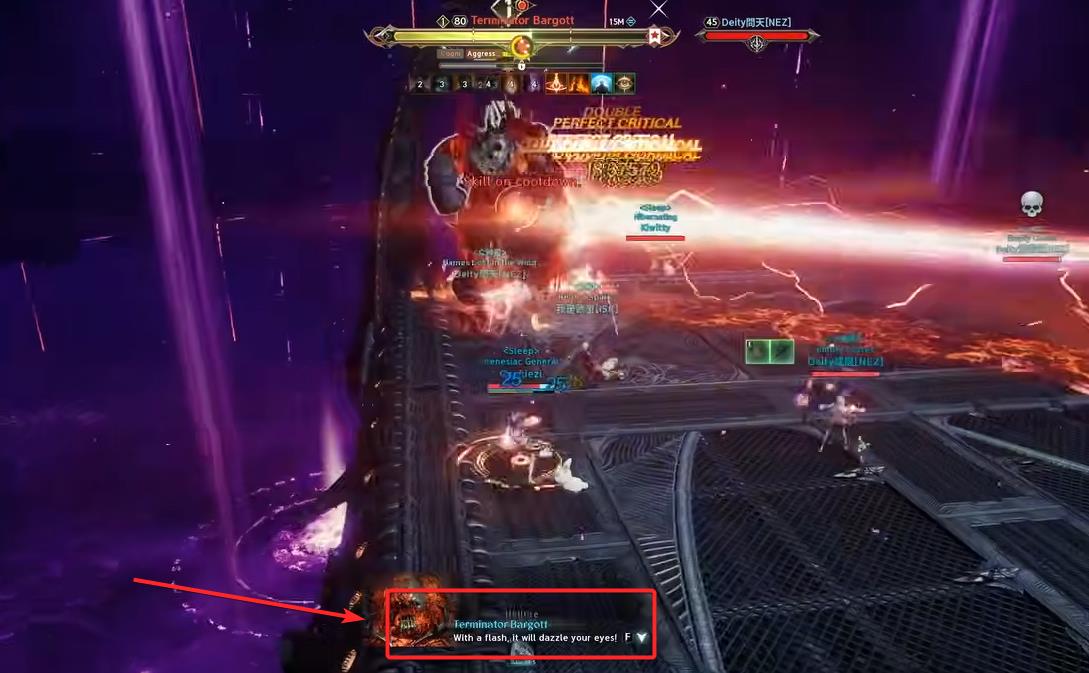 You can dodge it with a dash, or stand to the side/behind the boss.
💥Throwing Bombs
The boss jumps off the platform and shouts: "You will all die together!" This is the signal for a new phase to begin.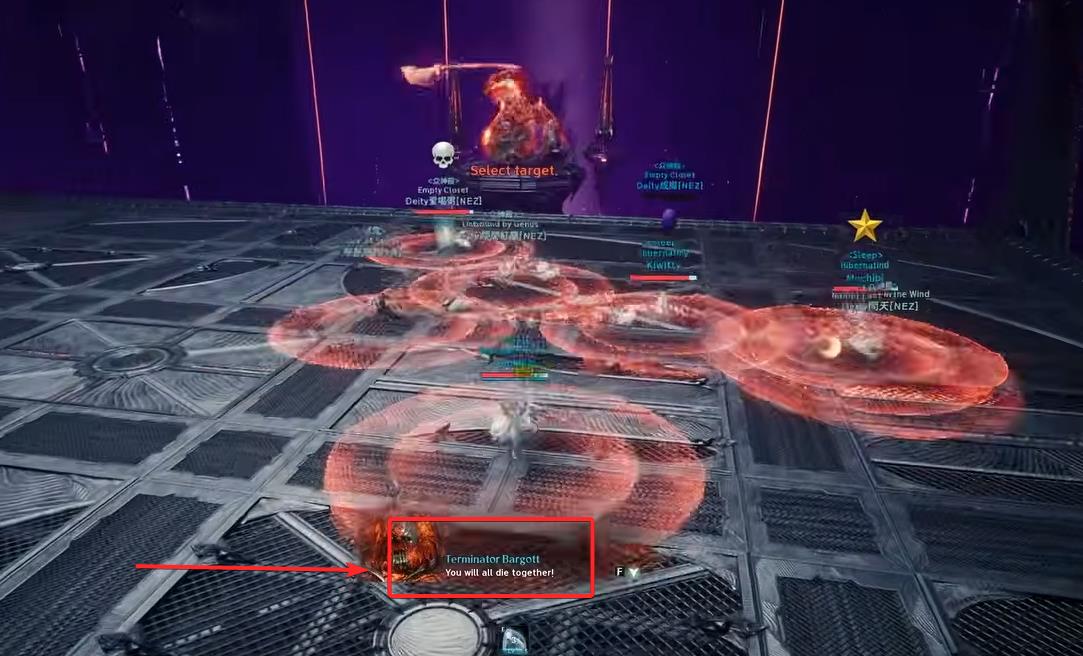 In this phase, you need to collect bombs (press F), dodge fireballs, and throw bombs at the boss.
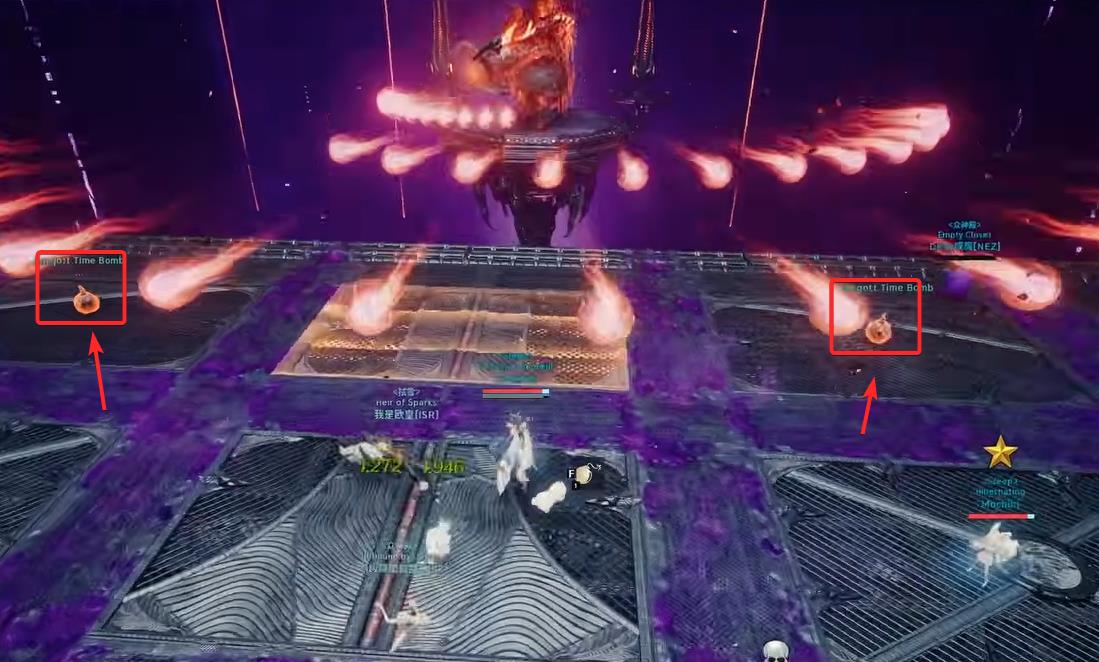
💣Bombs 2
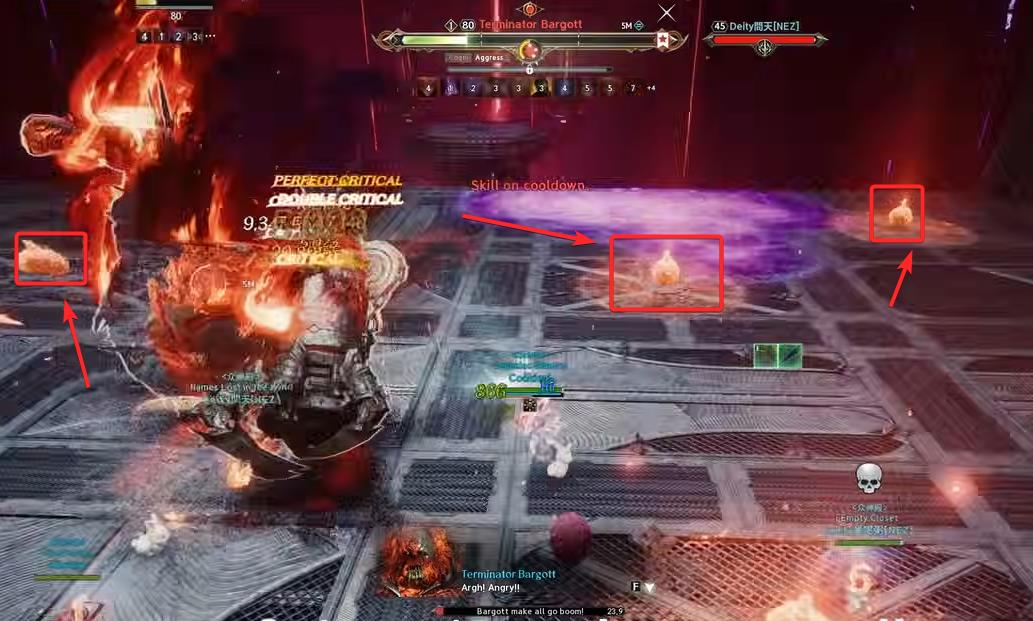
The second time, the boss summons 10 bombs, in several possible layouts (their placement may vary). You'll have to act according to the situation; below are 3 approximate variants: