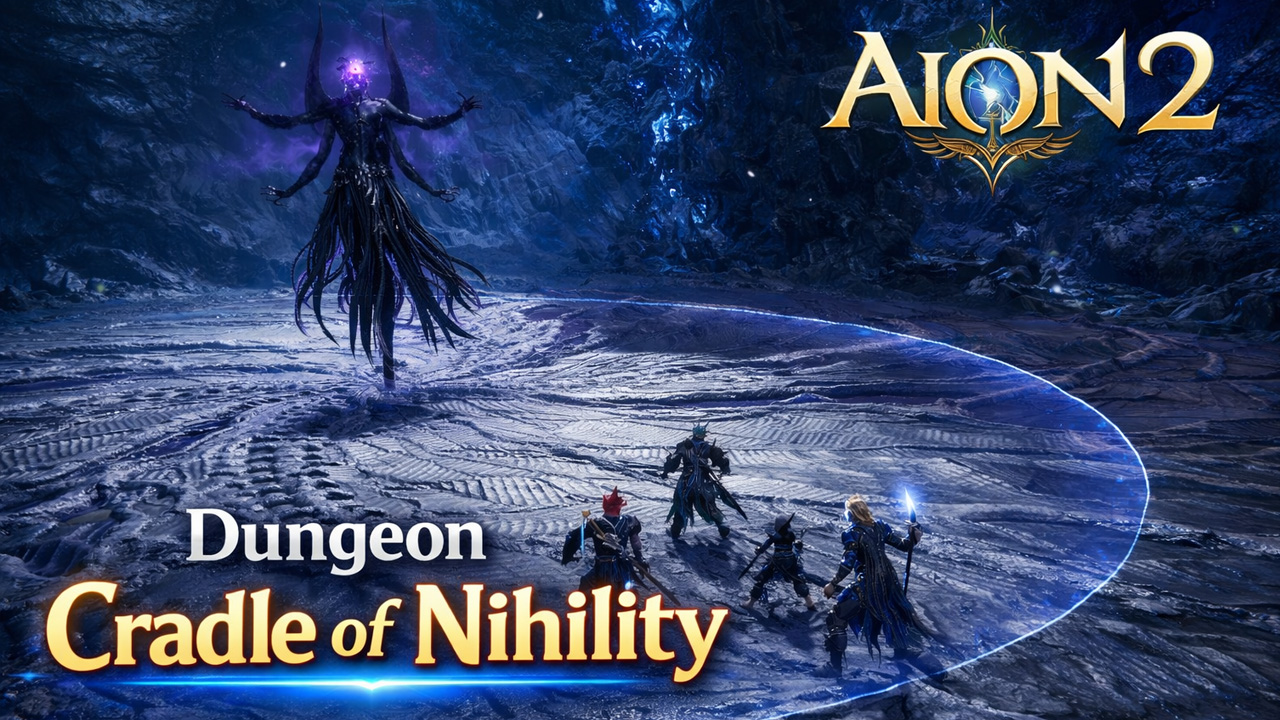
Cradle of Nihility — Dungeon Guide
Full guide to the Season 2 Expedition dungeon: boss mechanics, positioning tips, Hard mode strategies, and loot tables.
Introduction
Cradle of Nihility (KR: 무의 요람) is the new Expedition dungeon of Aion 2's second season. It demands a coordinated group: there are many checks on positioning, color mechanics, and discipline to "not blow up extra things". The dungeon was released with the February 11, 2026 patch.
According to most groups' experience, Cradle of Nihility indeed feels meaner than Dying Dramata's Nest in terms of punishing mistakes on intermediate mechanics, but at the same time, the final boss can seem easier for those already used to playing "stacked up" and not panicking at AoE/DoT zones.
Entry Requirements & Modes
| Mode | Item Level | Difficulty |
|---|---|---|
| Exploration | 2800 | ⭐ |
| Conquest | 2800 | ⭐⭐⭐ |
| Hard | 3000 | ⭐⭐⭐⭐⭐ |
How to Reach the 1st Boss: 2 Routes
🛗 Elevators
Slower, higher chance of losing a player/buff/resource to falls.
🪂 Air Route (Recommended)
Safer for the group, but you can "overshoot" and there's no way to activate the needed Kisk.
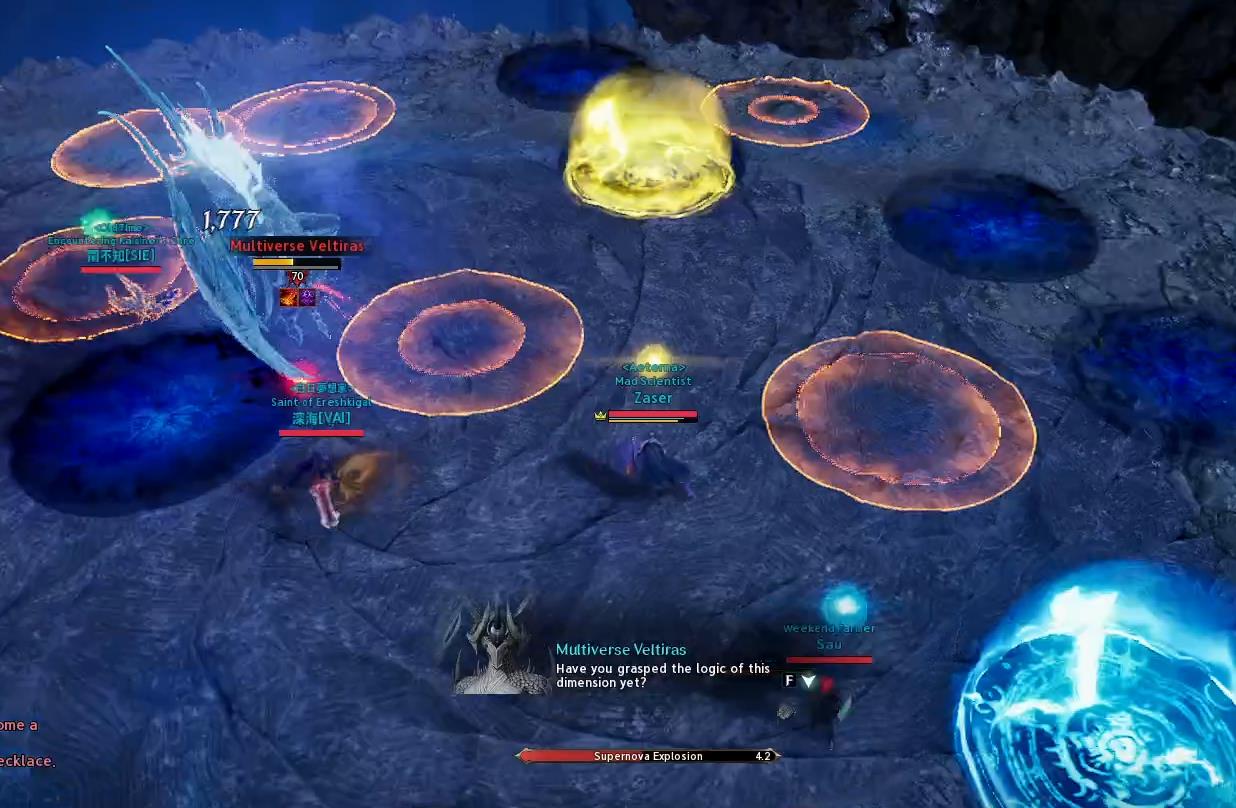
1st Boss: Multiverse Veltiras
Mechanic 1: "Blue Orbs" and Beams
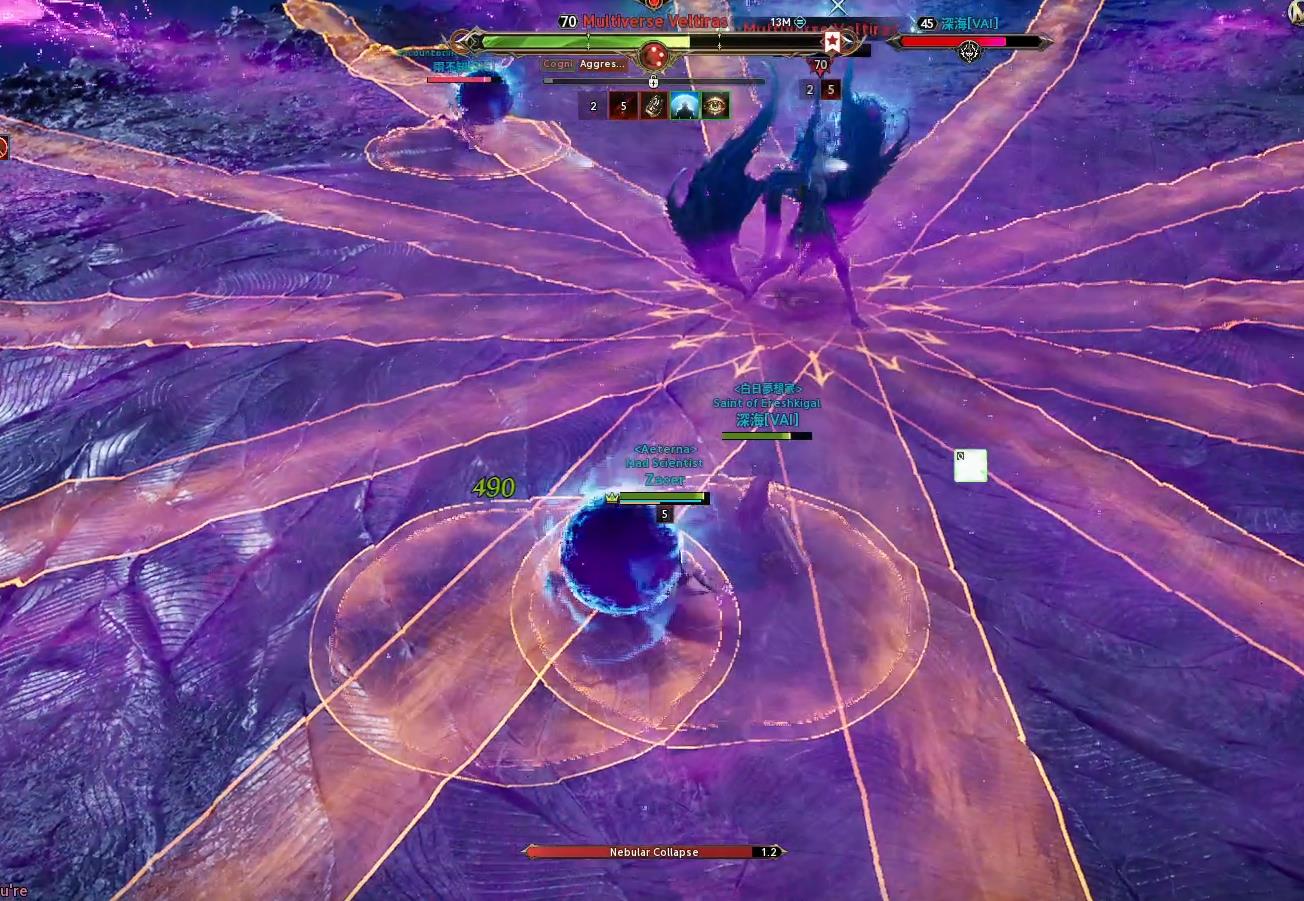
Blue spheres appear — they need to be destroyed. Approach a sphere, and when the field under your feet fills up to ~90%, jump away. A beam will strike that spot, destroying the sphere without you taking damage.
Alternatively, you can take damage from the beam and still break the sphere, then move on to the next one.
| Explosions Hit | Result |
|---|---|
| 1 explosion | Survivable with enough HP or high Damage Tolerance |
| 2 explosions | 100% death |
Mechanic 2: "Dome of Your Color"
Before the damage wave, orbs appear above each player's head and domes of different colors appear. You must stand in the dome of your color, otherwise the wave will instantly kill you.
2nd Boss: Solemn Valkan
Step 1: Clear the "Train"
Do not run into the boss with a tail of mobs. Clearing before the pull saves the healer's mana/resources and stabilizes the entire fight.
Step 2: Positioning — Mid-Range is Safer
The boss deals damage up close. It's better to stand at a medium distance, pulling dangerous frontal attacks/vortices away from the group.
Step 3: Obelisks and the Correct Color
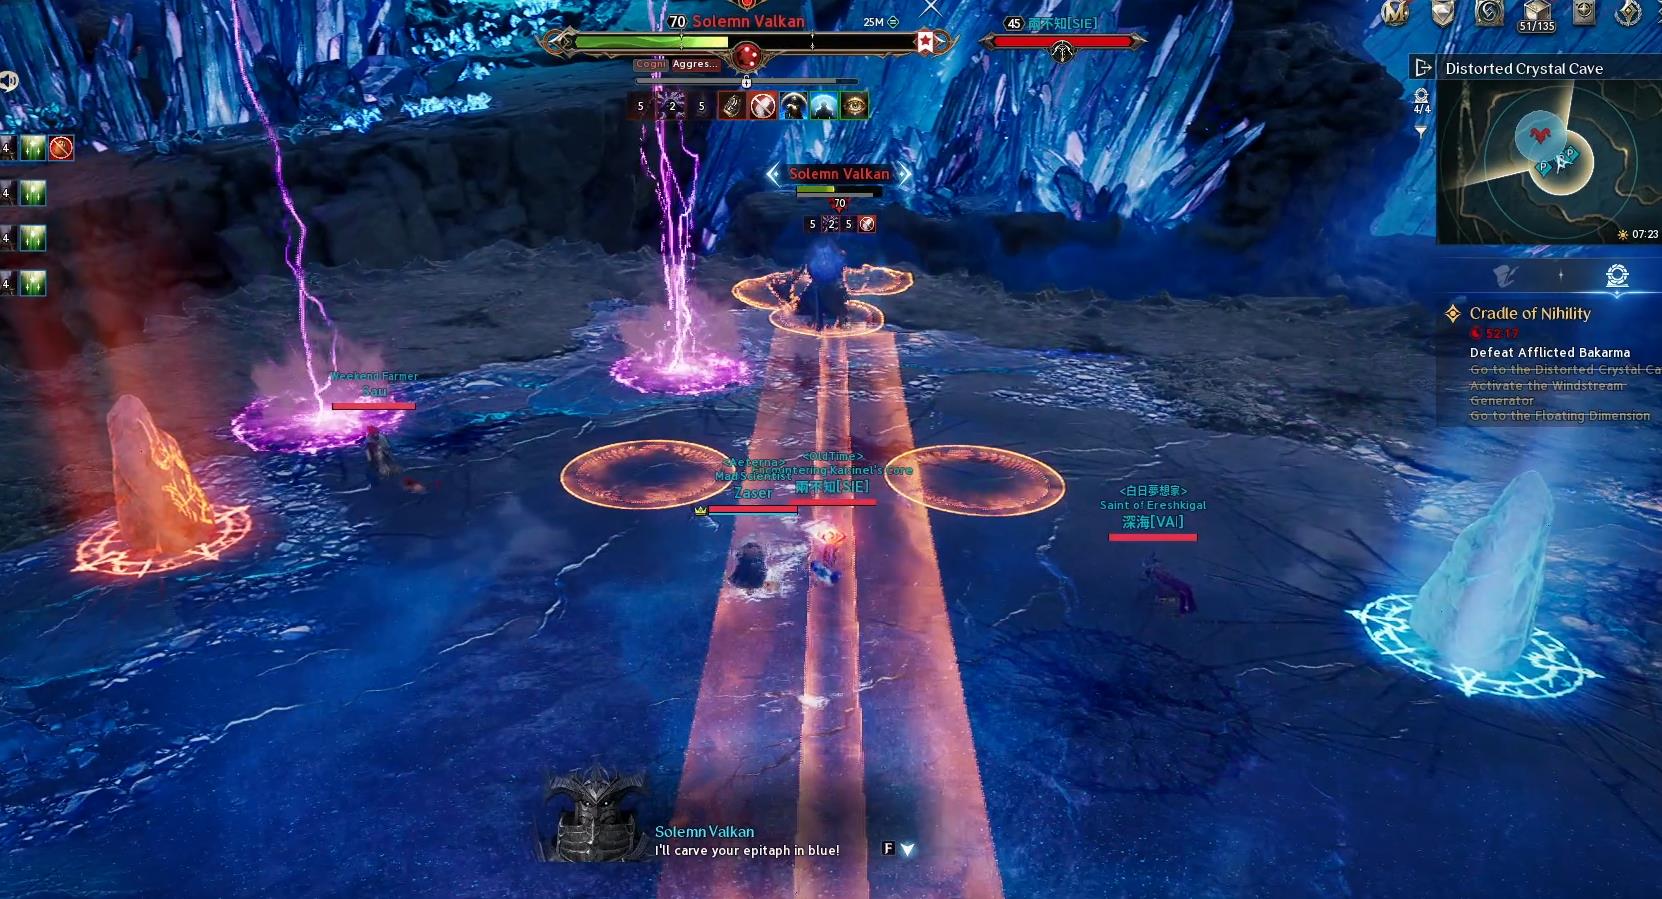
You need to lead the boss to obelisks of the correct color (red / blue) to break them. The hint is the color of the field around the boss — it's the "key".
Step 4: Spirit Shield
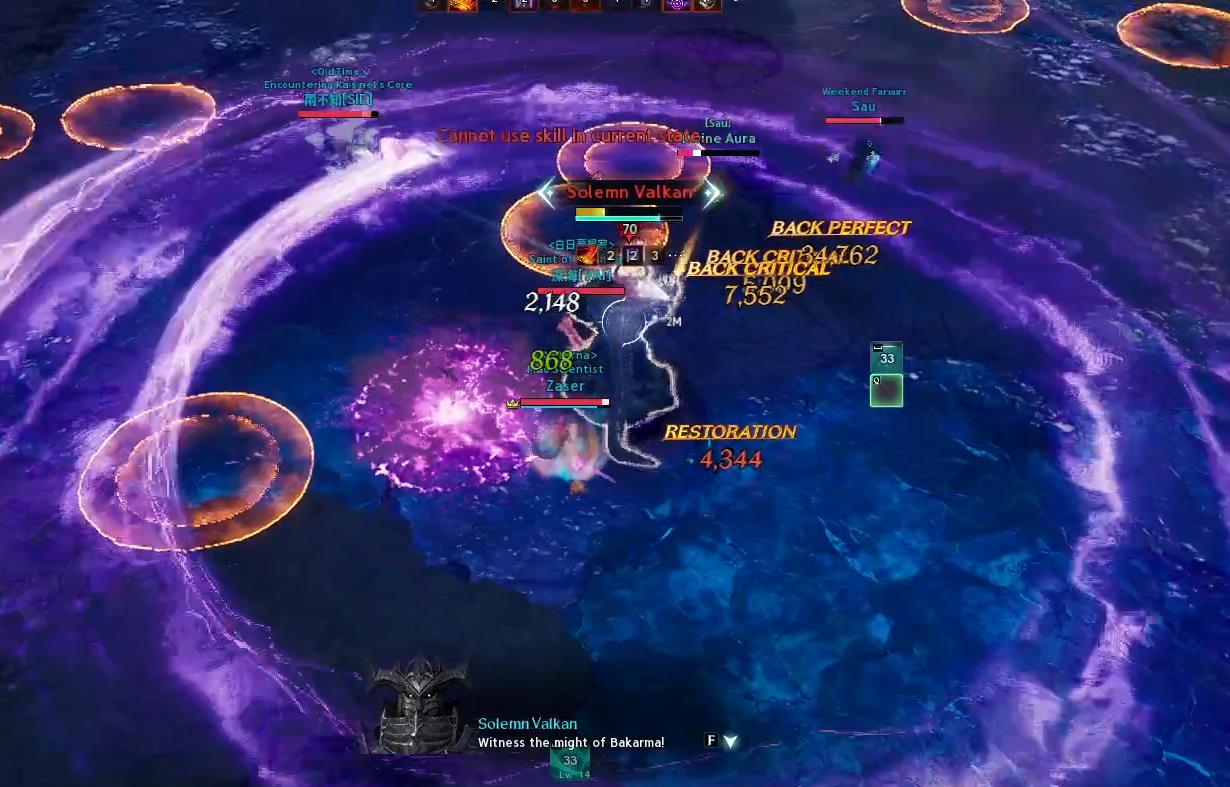
Stand close enough to the boss to avoid dying from the spirits. The safe zone is directly around the boss.
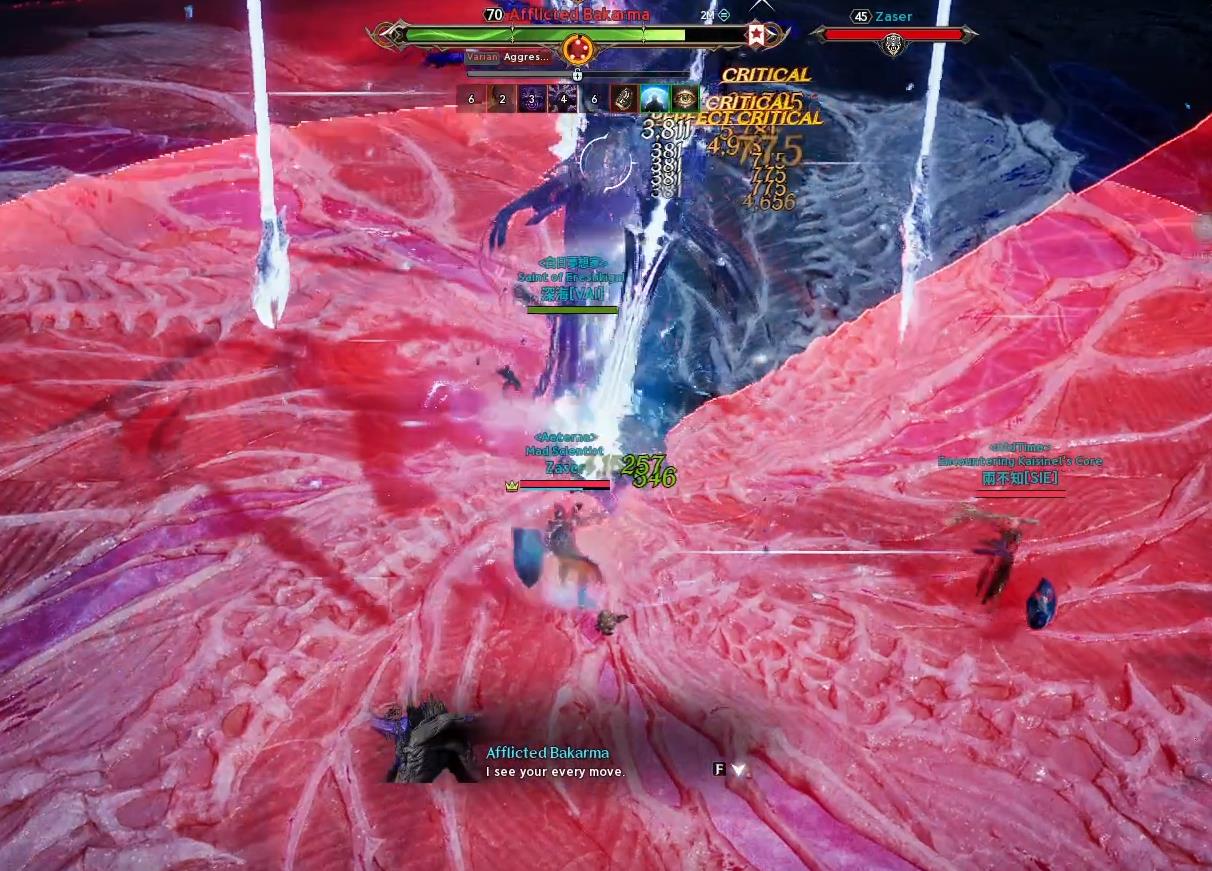
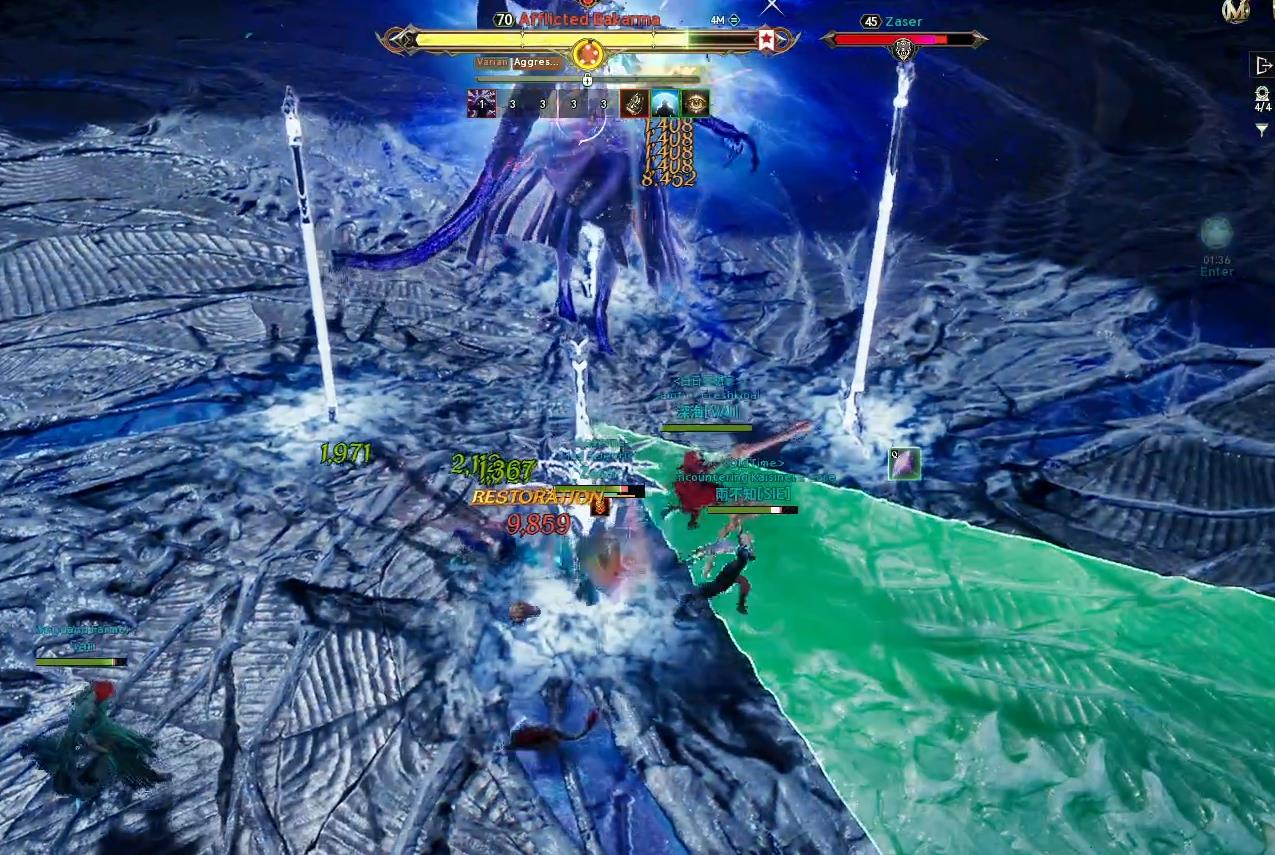
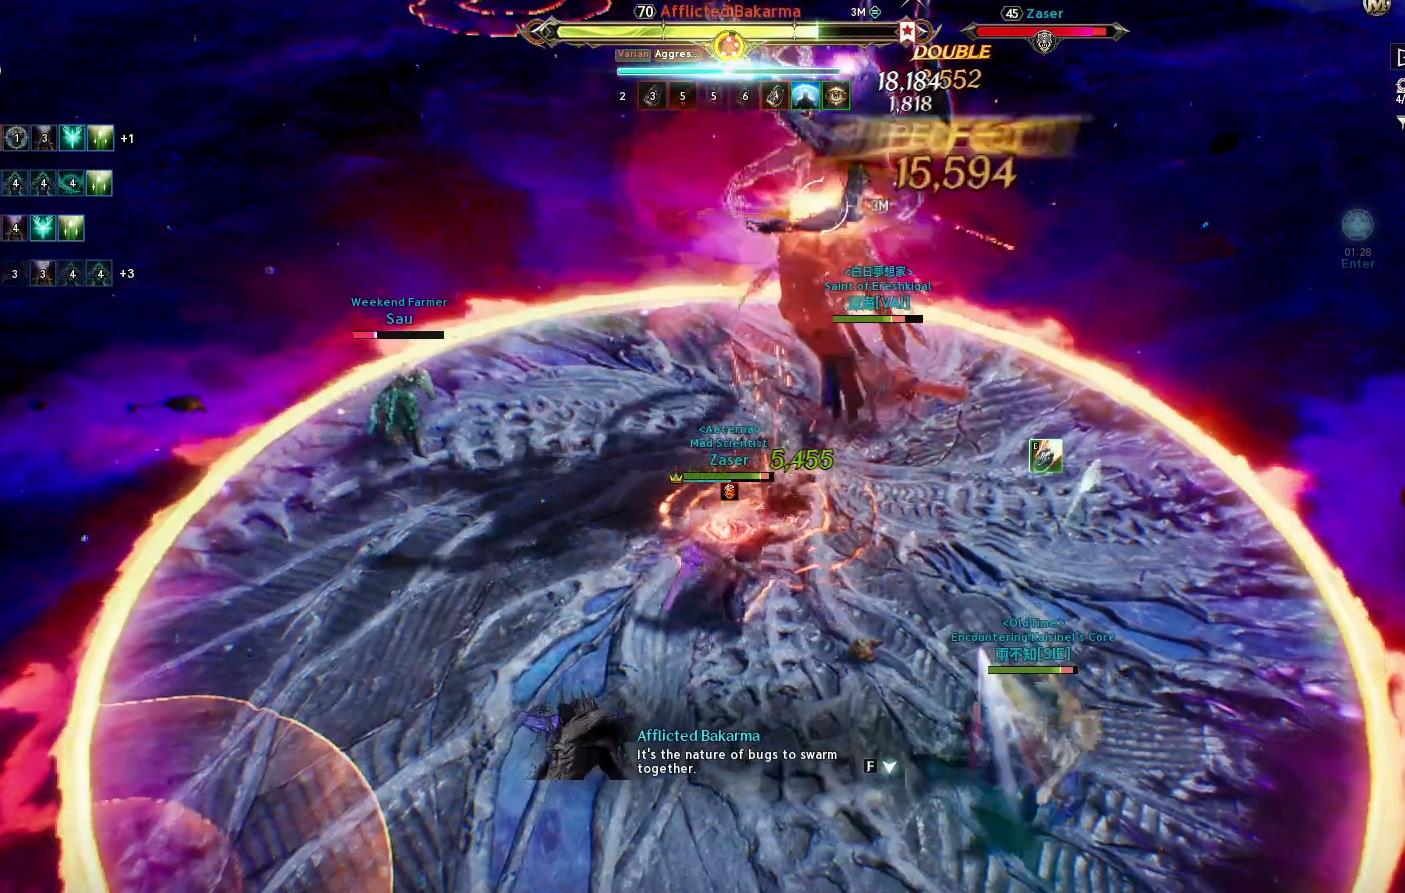
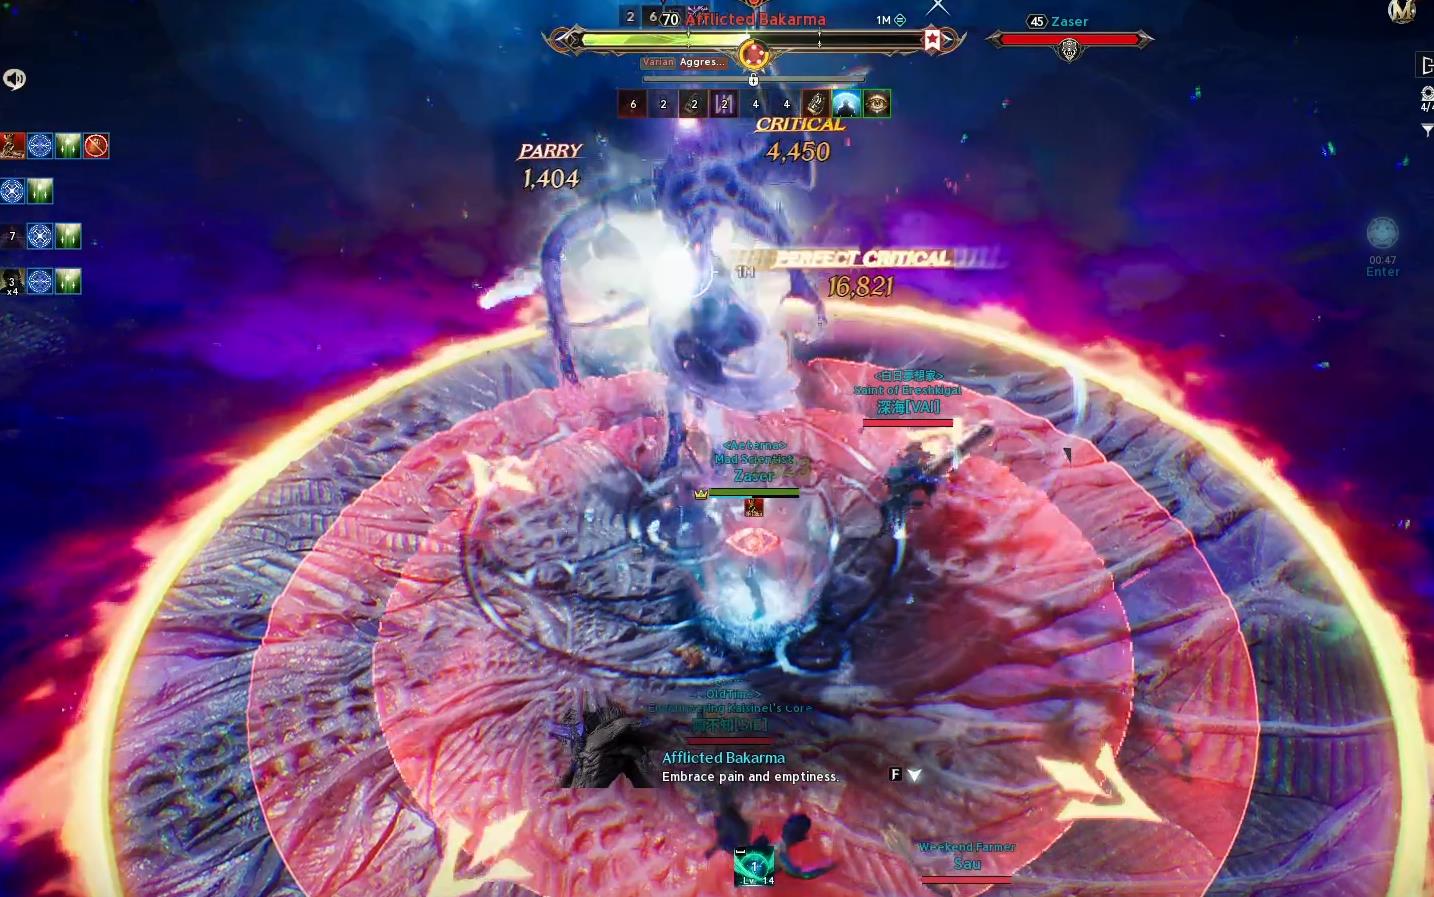
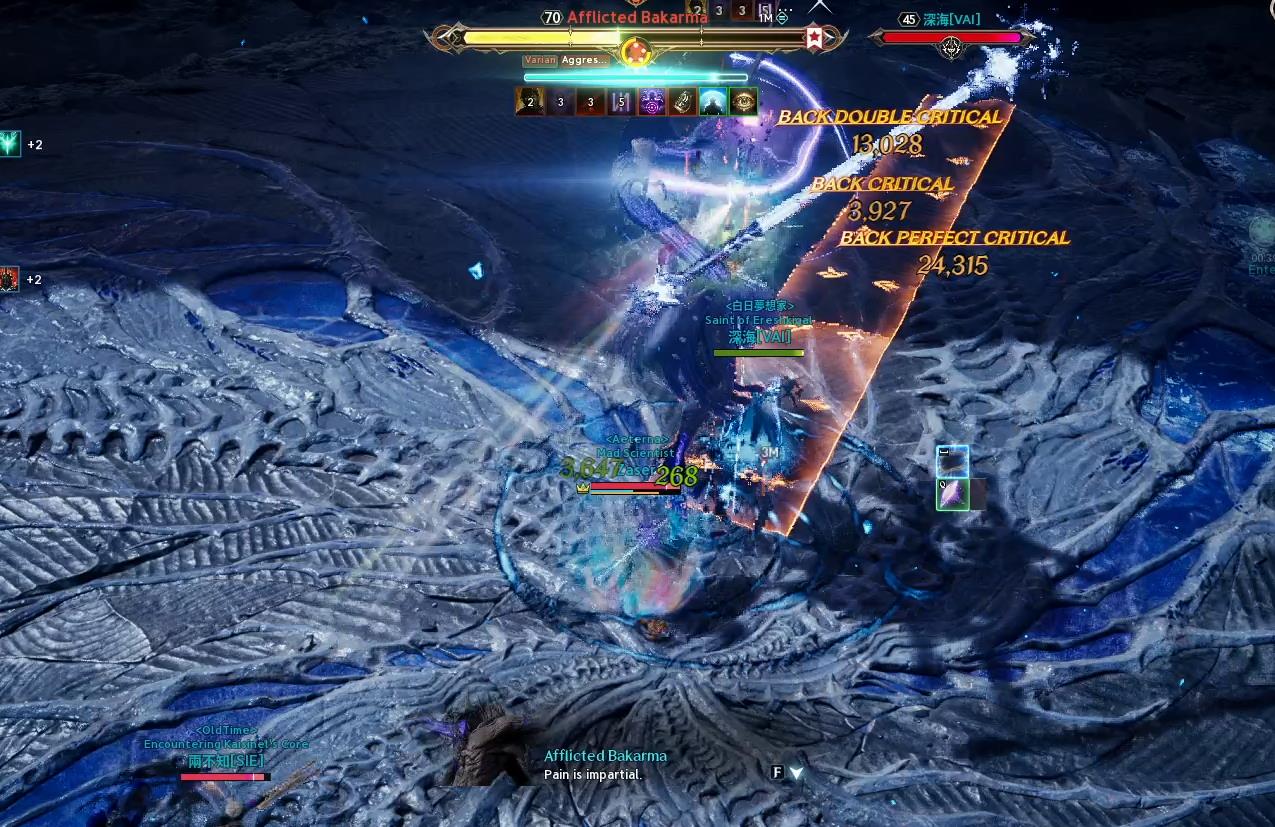
Final Boss: Afflicted Bakarma
Mechanic 1: Large Red Zone → Green "Slices"
"I see your every move."
A large red zone appears — rush to a safe spot. Immediately after this, there is usually a window where it's safe to move along the green segments (clockwise/counter-clockwise).
Mechanic 2: "Eye" on a Player = Safe Zone Anchor
"It's the nature of bugs to swarm together."
An eye appears on one player. The safe zone is around them. Outside is a strong DoT — not always instantly lethal, but it finishes you off quickly.
Mechanic 3: Lots of AoE → Dodge Carefully
There really is a lot of AoE. A common mistake is dodging too sharply and flying into a dangerous zone or cutting off the group's path. Controlled, small movements are key.
Mechanic 4: Red Field with Arrows
"Embrace pain and emptiness."
Mechanic 5: "Box" — Fixation on One Player
- You can share damage with teammates on the line, but be careful — if you're low HP, you can wipe your team this way!
- You can avoid it only with Immunity skills or additional shields (block doesn't save you — you'll still receive damage)
Mechanic 6: Hard Mode — "Collapsed Cradle"
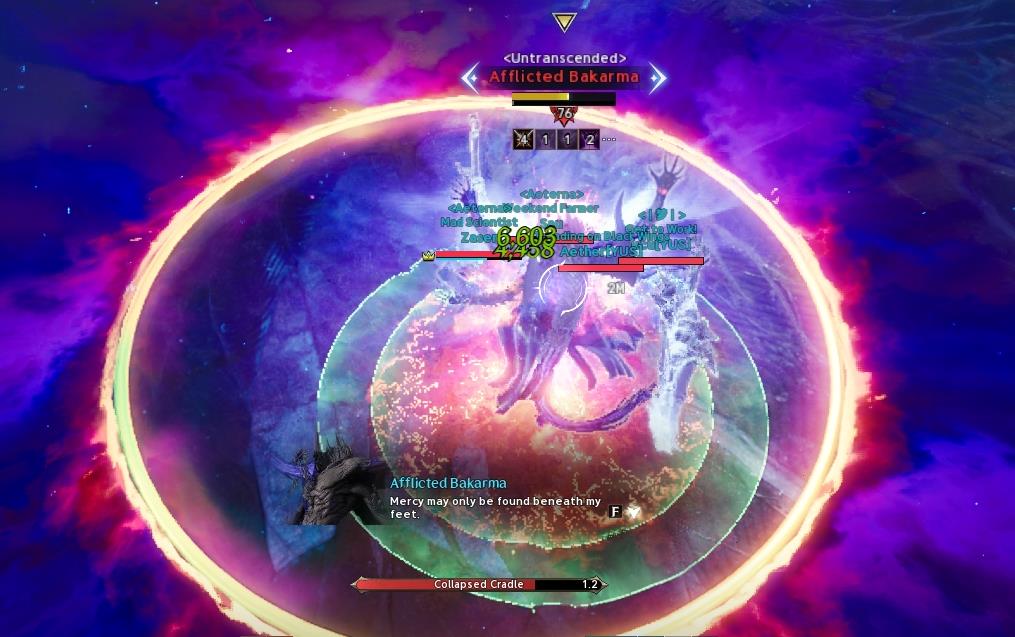
"Collapsed Cradle"
The only safe zone is near the boss, so you need to rush there. But be careful — this often happens when someone has the Eye mechanic, so you shouldn't jump straight to the boss.
Rewards & Why to Farm It
Main rewards:
- New weapons (level 92)
- New accessories (level 92)
- New Heroic gloves & shoulders (level 108)
- Wrathful Mind, Wrathful Will, Wrathful Ego, Wrathful Sublimation, Wrathful Wish, Philosopher's Stone
Drop Chances by Mode
| Mode | Unique | Heroic |
|---|---|---|
| Exploration | ~1% | — |
| Conquest | ~10% | ~0.5% |
| Hard | ~20% | ~1% |