
Krao Cave (Hard) — Dungeon Guide
A complete breakdown of the Krao Cave Hard mode: general tactics for trash mobs, mechanics for all three bosses, positioning, common mistakes, and tips.
General Trash Mob Tactics (Before Bosses)
On Hard mode, you cannot mindlessly pull everything. The trash here is not just "garbage" but a serious threat if you don't control the situation.
✅ What to Do
- Pull packs in a controlled manner
- Clear dangerous mobs before the boss
- Prepare before the fight: cooldowns, potions, buffs
❌ What NOT to Do
- Do not rush into the boss with a train of mobs
- Do not stand in melee range of multiple mobs without defensive cooldowns
- Do not waste all your defensive buttons on trash before the boss
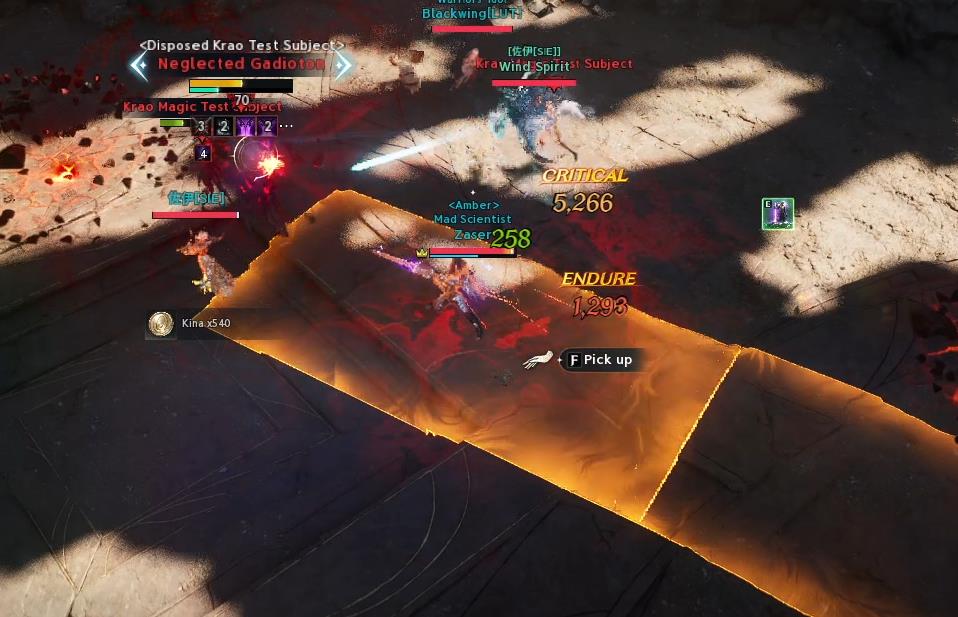
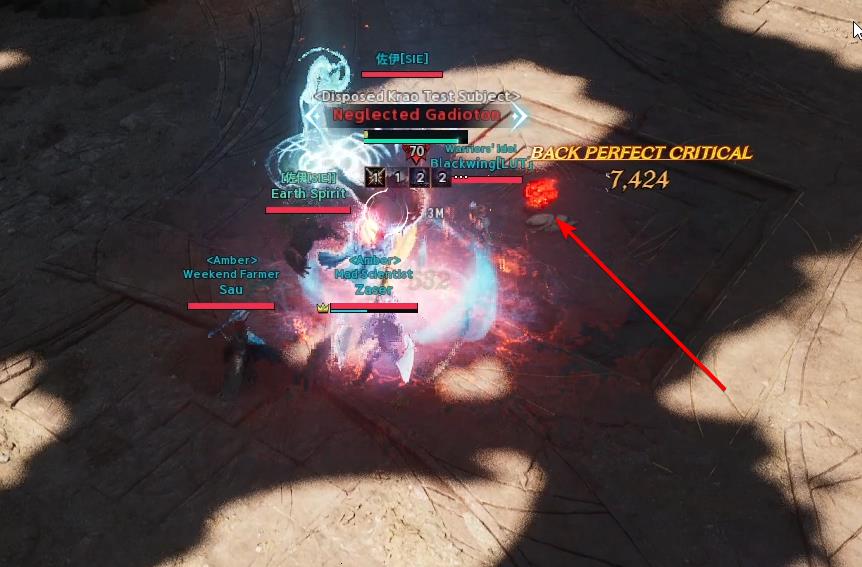
First Boss: Neglected Gadioton
This fight tests the basics: dodging, reading animations, and positioning discipline. It's cleared consistently if you don't take unnecessary hits, don't stand in dangerous areas, and don't panic.
1) Lava Pools (danger zones on the ground)
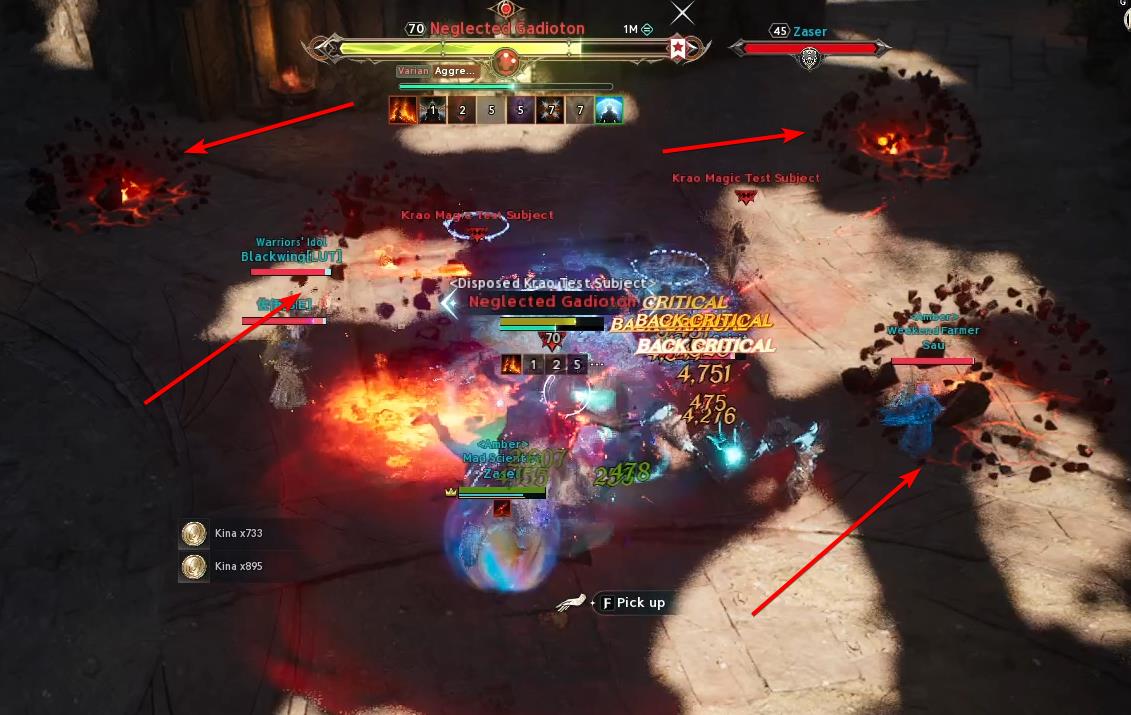
The boss places zones you must not stand in. On Hard, they kill quickly, especially when combined with other attacks.
- Position the boss so the group has room to retreat
- Don't get pinned against the edge of the arena
- Watch the floor after major casts
2) Laser
A directed attack/beam with high damage.
- Dodge / i-frame on timing (if available)
- Block — deliberately, and immediately dash away after
- Move to the side early, don't wait until the last moment
3) "Rocks" (throws/projectiles)
The boss throws projectiles that must be dodged or defended against. They often finish off players who have already taken damage.
- Don't stand still after a cast — make micro-movements
- Melee — attack "between steps," not statically
- Healer — keep an emergency heal ready after a series of projectiles
4) Basic Auto-attacks/Animations
The animations are readable, so it's important: don't greed and move out of the attack immediately, not at the moment it activates.
Common Wipes on the First Boss
- Ignoring lava pools
- Standing in front of the boss for no reason
- Overestimating "tankiness" and playing without defensive cooldowns
- Engaging the boss with a mob train in tow
Second Boss: Enhanced Harcon
Often feels harder than the first because wipes happen due to incorrect movement, panic, and mob trains.
1) Crossfire
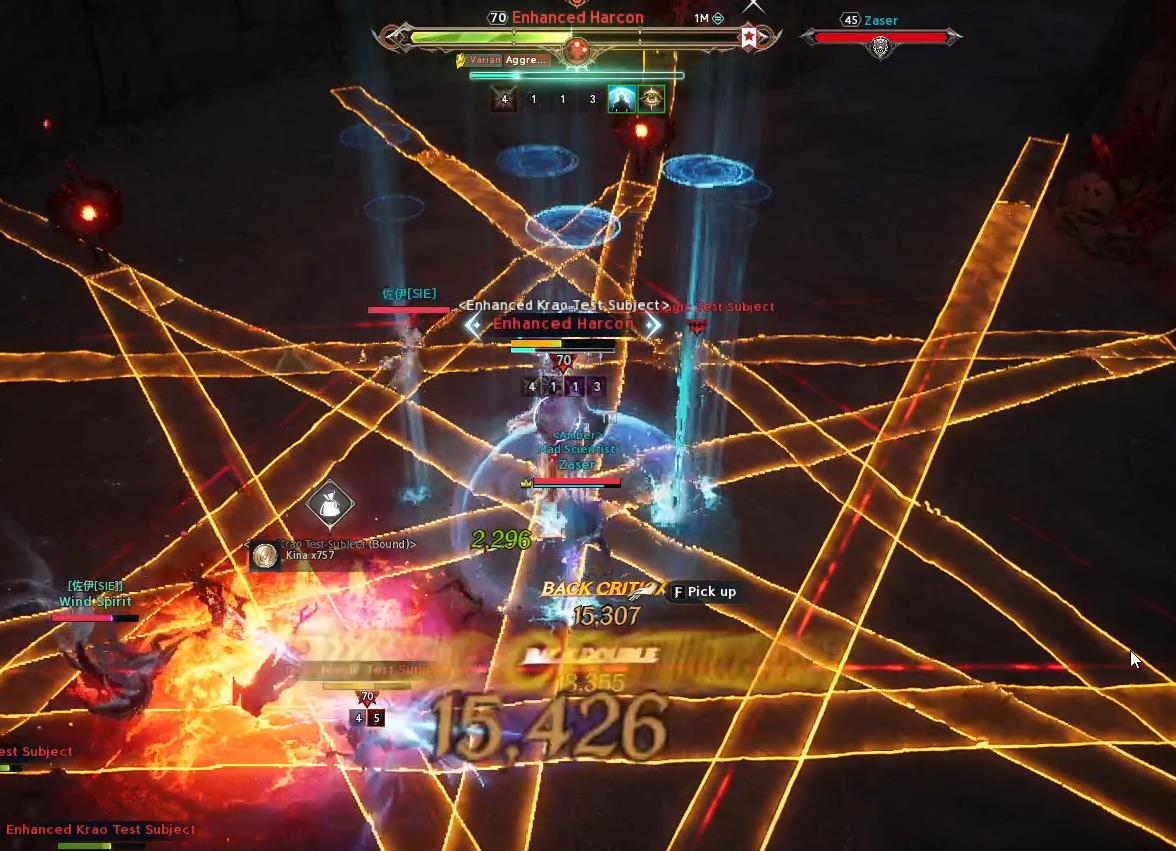
- At the start of the mechanic, stack up closer to the boss (but not in a single spot)
- Make short movements
- Do not run to the walls
- Look for a safe sector near the boss
2) "Rocks" (throws/projectiles)
This mechanic punishes poor reaction and poor visibility, works exactly the same as on the first boss.
- Do not waste dash/dodge prematurely without need
- Watch the center of the arena and the trajectories
3) Lava Pools
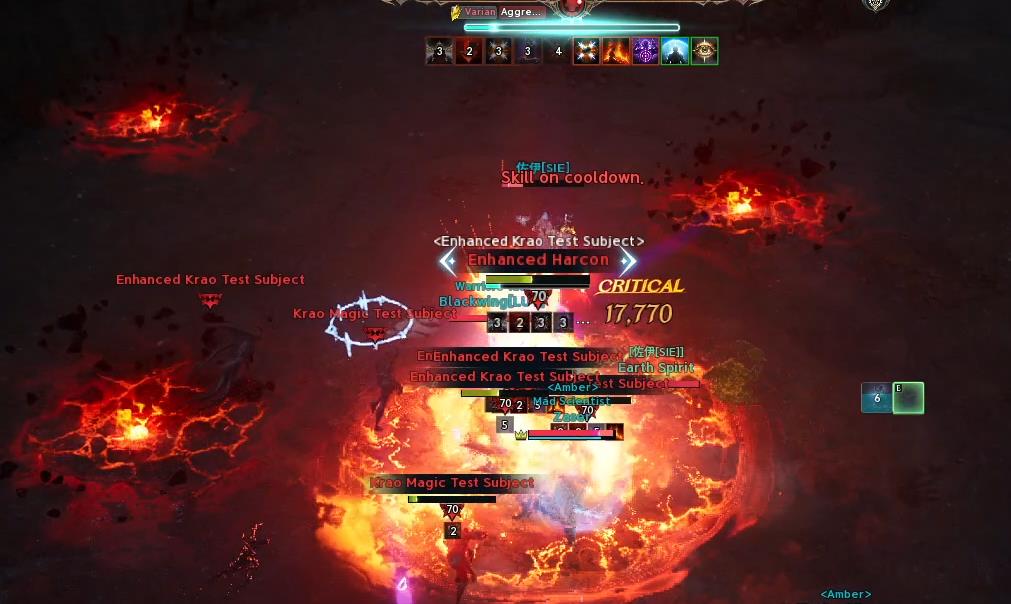
Similar to the first boss — watch the floor and don't get cornered.
Positioning on the Second Boss
- Stay compact around the boss
- Do not spread out across the arena
- Leave yourself a small angle for stepping/dodging
What Breaks the Fight
- Panicked scattering during crossfire
- Not registering at the Kisk
- Group spread is too wide
- Loss of visibility due to camera/chaos
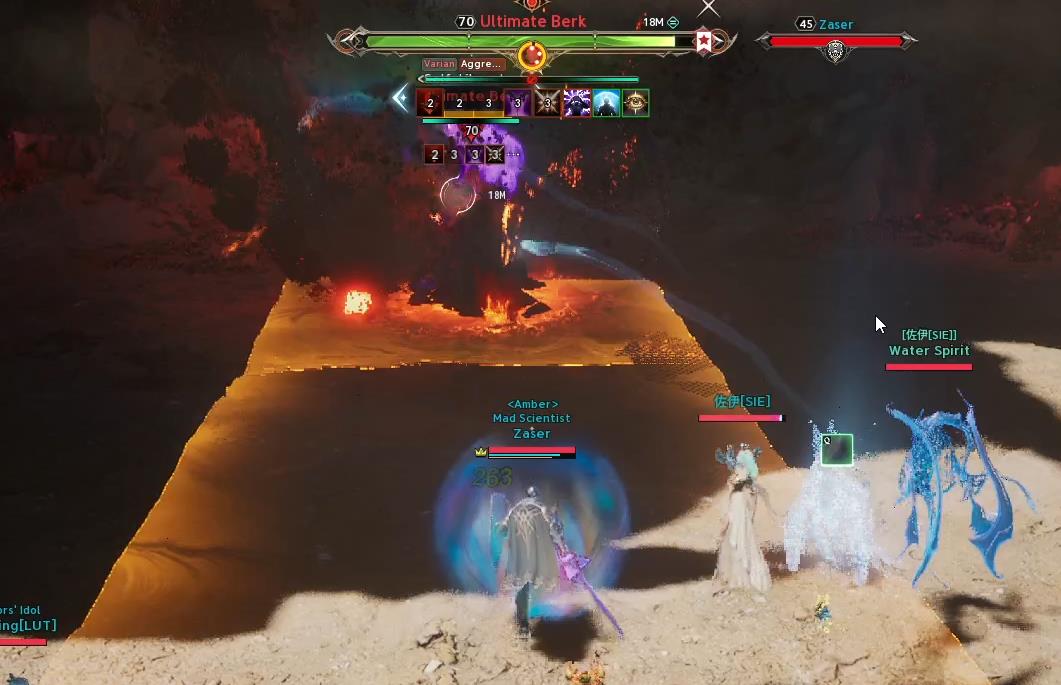
Final Boss: Ultimate Berk
This boss is decided by: timely stagger, correct positioning, taking cover behind the rock, and totem control.
1) Lunge/Sprint Forward (twice)
The boss places a field and performs a lunge/sprint forward twice.
- Do not stand in the line of movement
- Immediately prepare for two lunges in a row
- After the first lunge, do not immediately move back
2) Spin Attack (rotation) with heavy damage
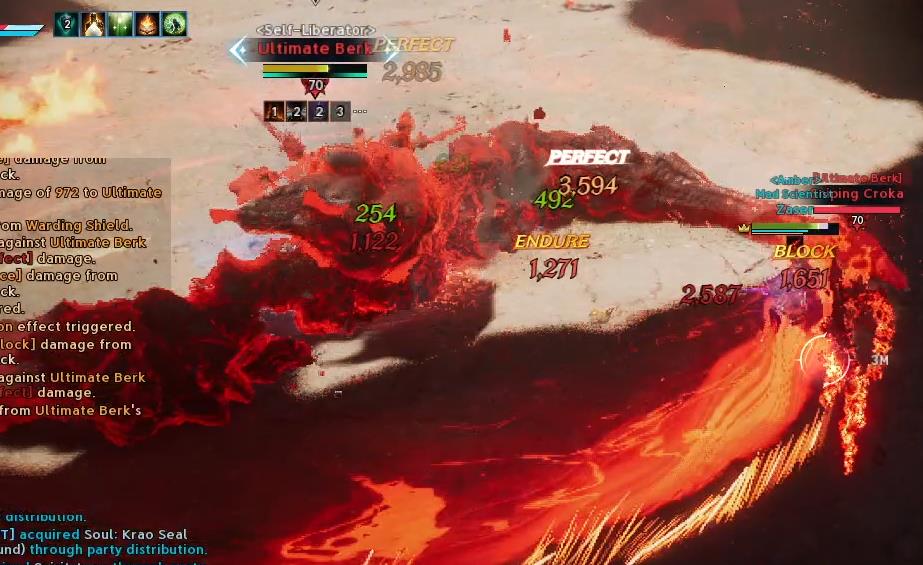
One of the most dangerous mechanics for melee.
- Recognize the animation in advance and move away
- Healer must be ready for a group HP drop
3) Rock Mechanic (cover in the center)
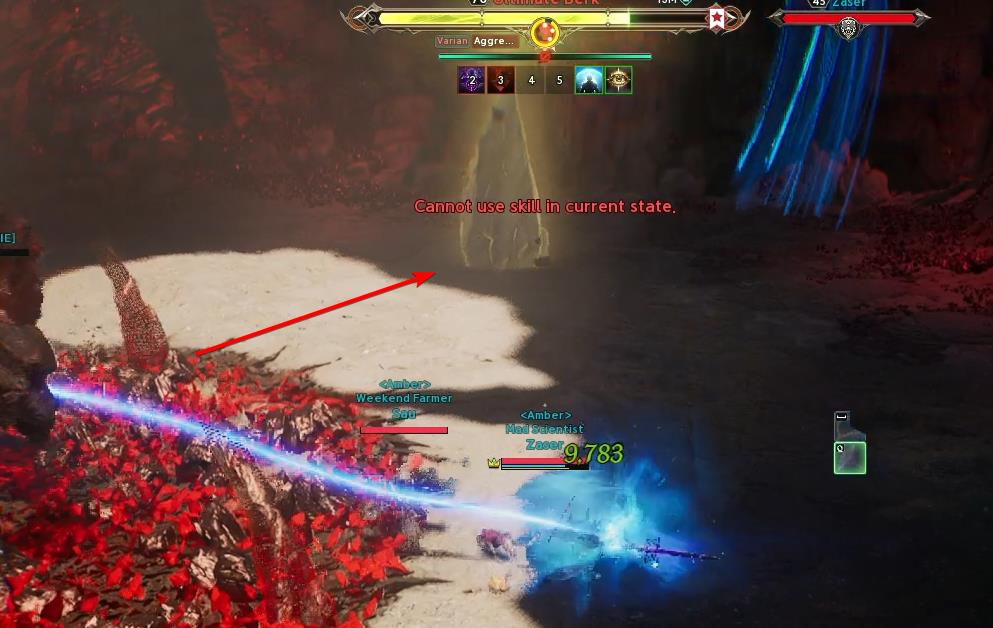
The boss jumps to the center of the room — your task is to hide behind the SAFE rock, it will glow with a golden light.
- As soon as the mechanic starts — stop greeding DPS
- Move towards the center in advance
- About ~1 second before it triggers — take the correct side behind the rock
- Do not run out early
- Started running too late
- Were too far from the center and couldn't make it in time
- Stood behind the wrong rock
4) Stagger
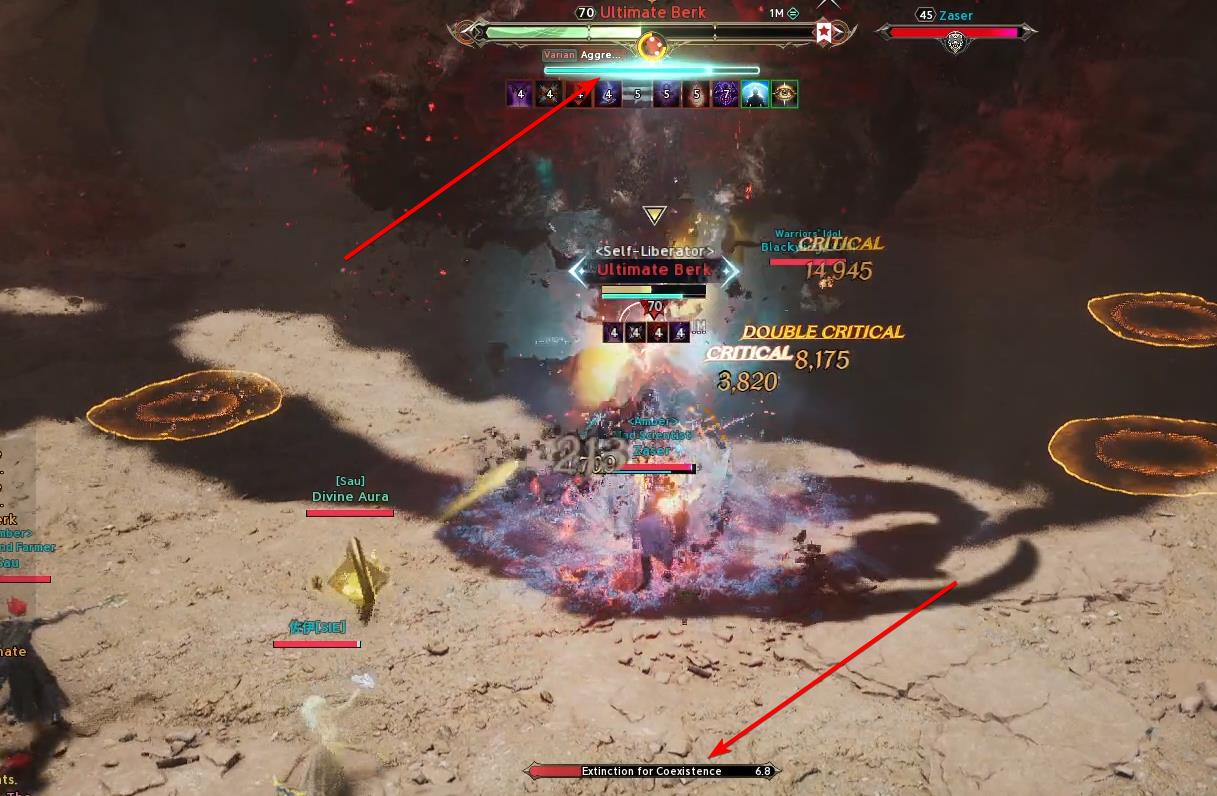
"Extinction for Coexistence"
When the boss shouts this phrase — you need to quickly fill the stagger bar with the appropriate skills.
- Notice the stagger window too late
- Used all stagger skills earlier and they are on cooldown
- Continue normal DPS instead of using stagger skills
5) Totems (Sniping Croka)
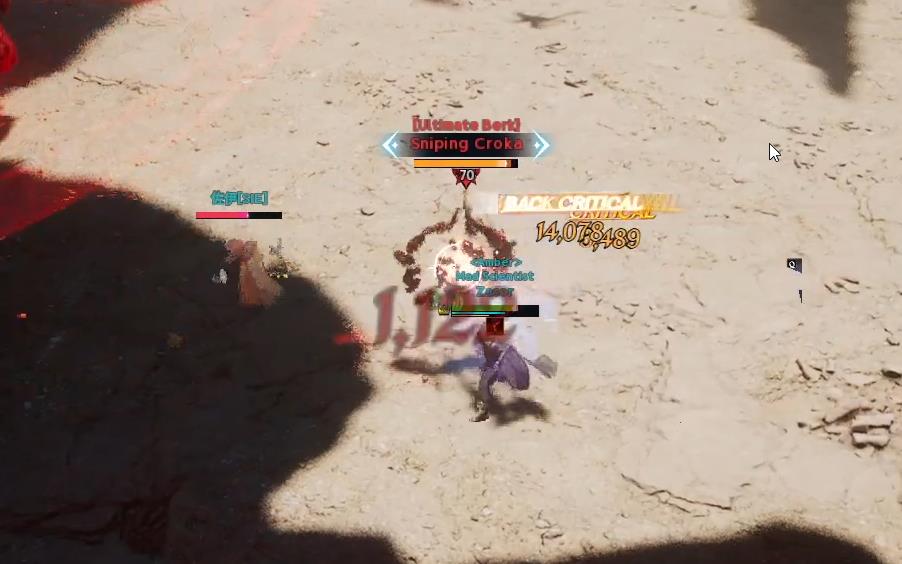
Totems must be destroyed to ease the fight. Ignoring totems = escalating chaos, extra damage, healer overload.
- Assign priority: 1–2 DPS switch to totems
- Alternatively, destroy totems in a specific place to create a safe zone
- Do not spread out across the arena for totems